Restoring a power hammer
I have bought myself a power hammer - something that I have wanted for a long time. It is a Abno nr1, a swedish made 25kg spring hammer. It has been unused for many years and is in need of a little restoration.
The last Abno hammers were manufactured in the sixties, so it is at least 60 years old. I've seen 60 year olds in worse condition than this, although there are parts that need improvement.
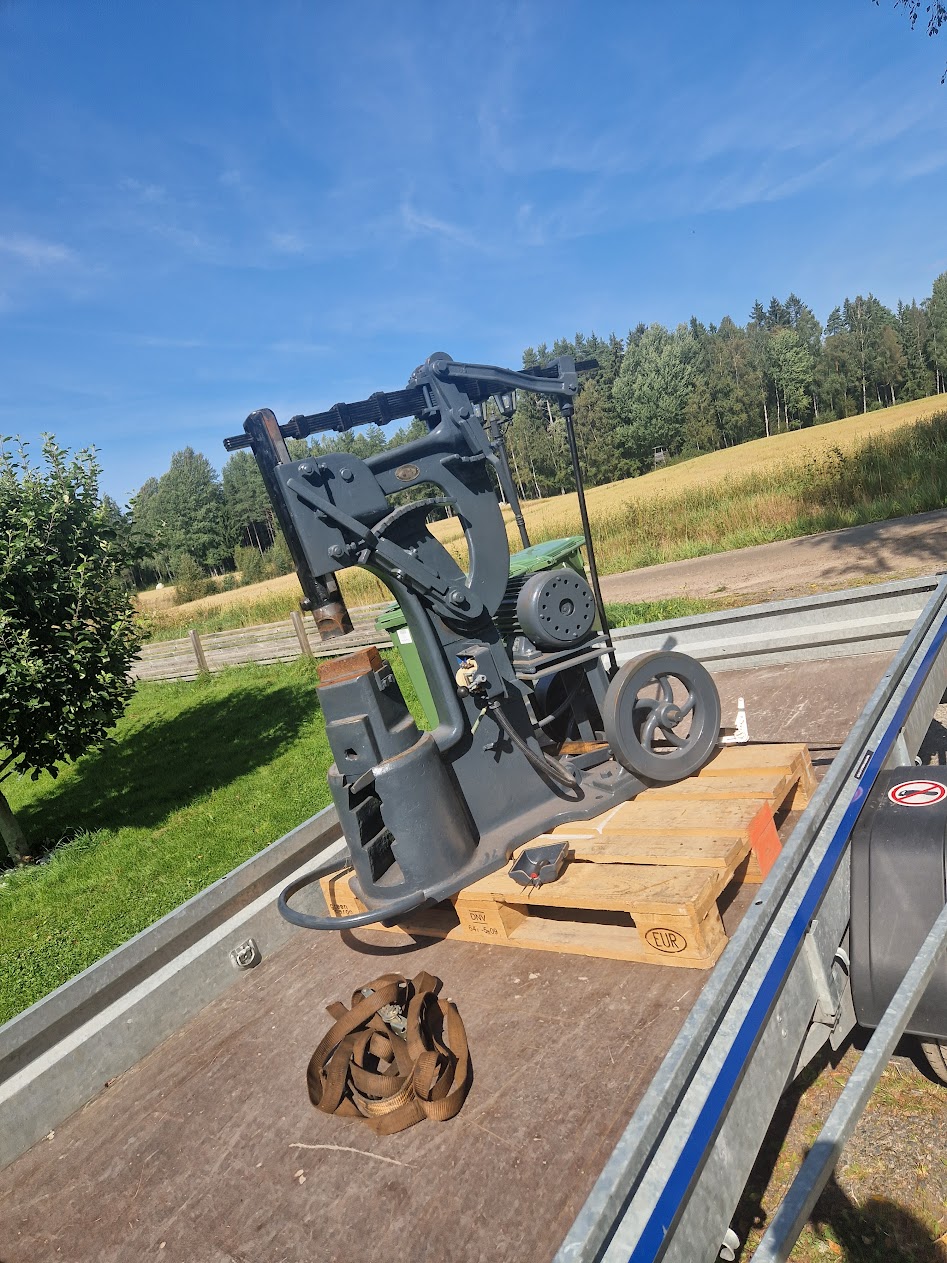
It is a heavy piece of metal - it weights almost 600kg. I had the help of a local farmer with a tractor to lift it into the garage, but once inside I had to fend for myself. I have no machines nor tools to move such heavy things, so I used a cuple of jacks, turnbuckles, a friend and brute strength.
Finally where I want it. Or maybe rather so that I got it in fairly well and then furnished accordingly.
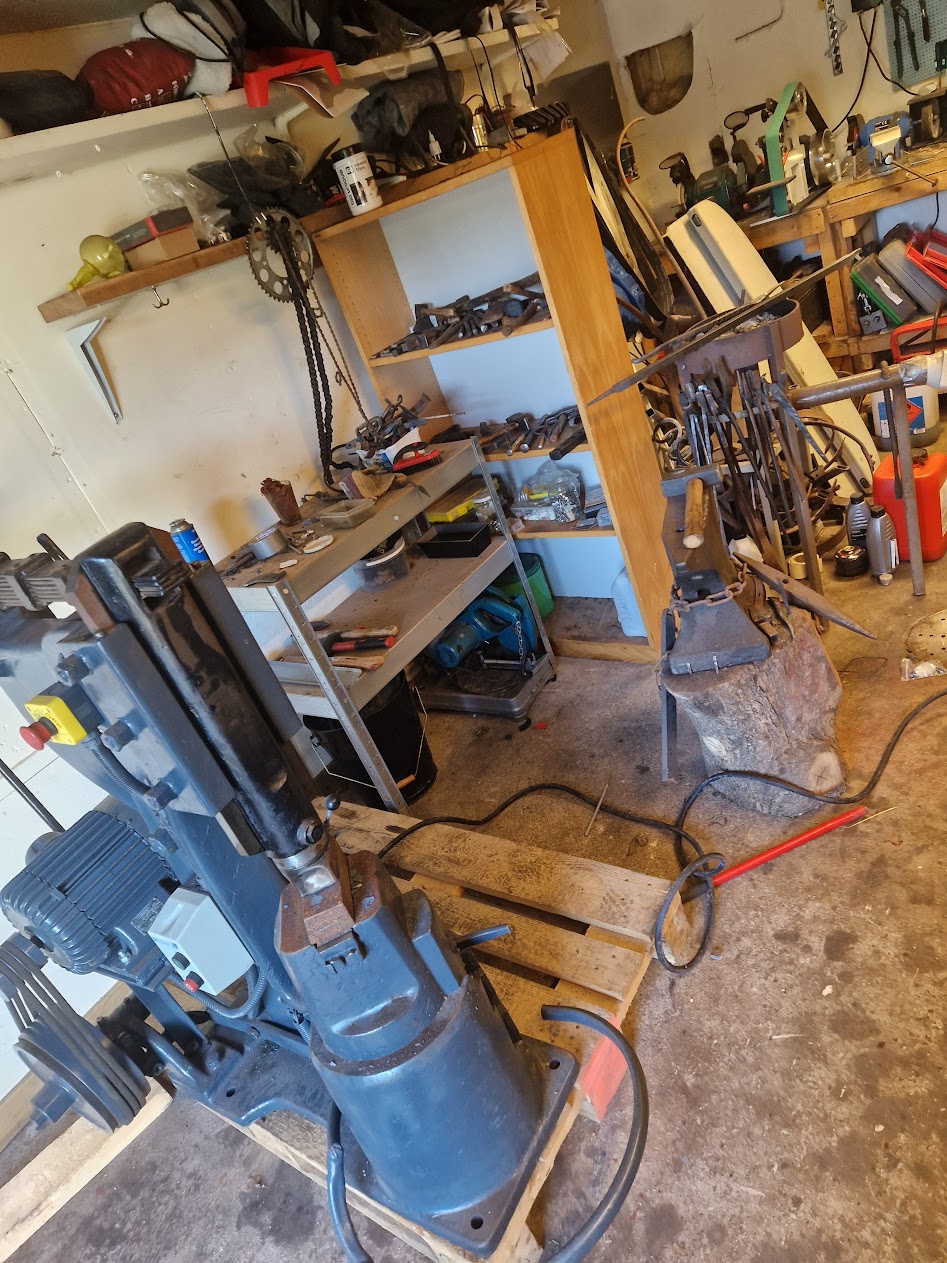
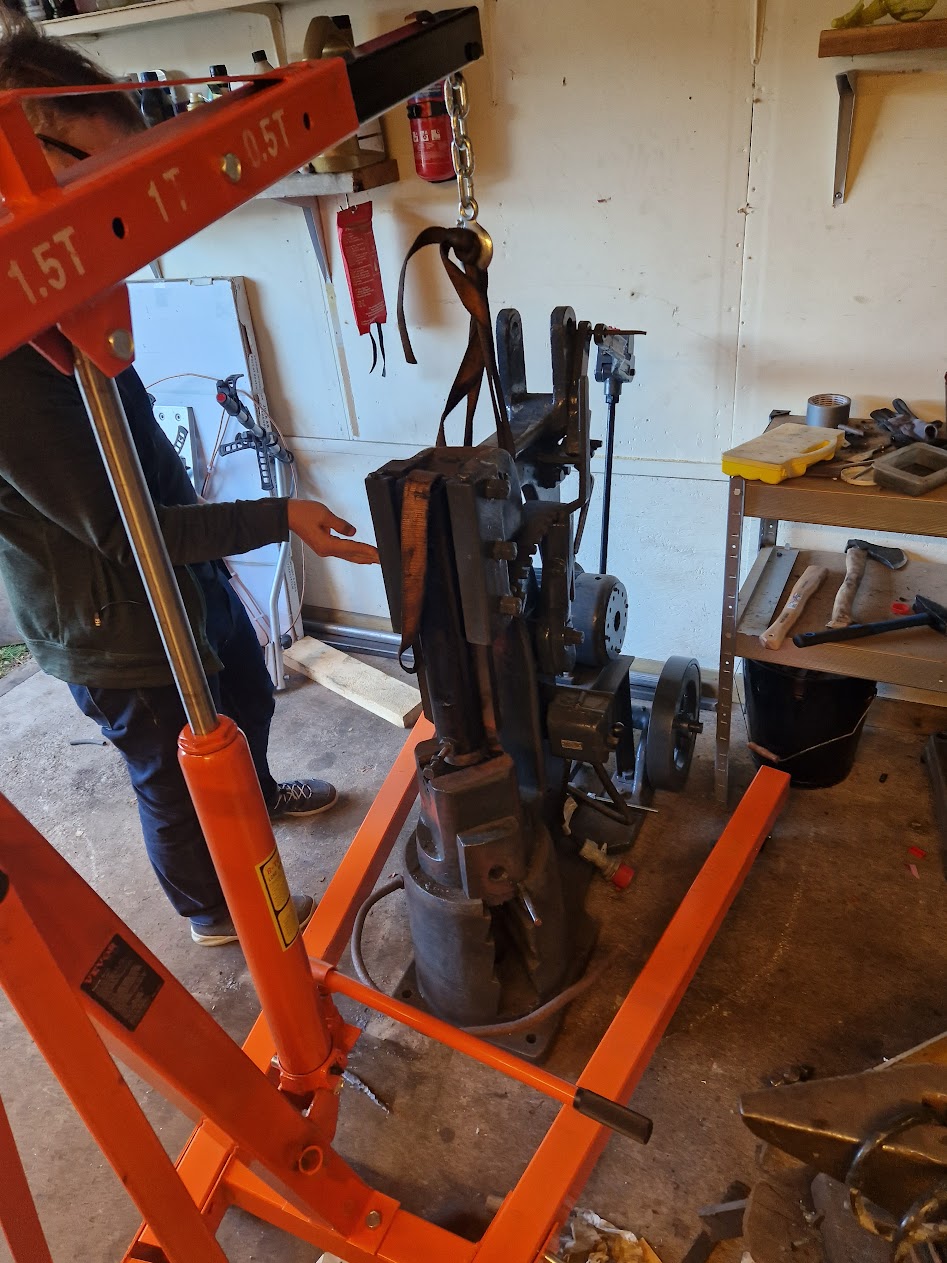
It turns out that I was not too happy with the placement, I needed it move it slightly more towards the wall. So I got myself a motor lift for the final tuning.
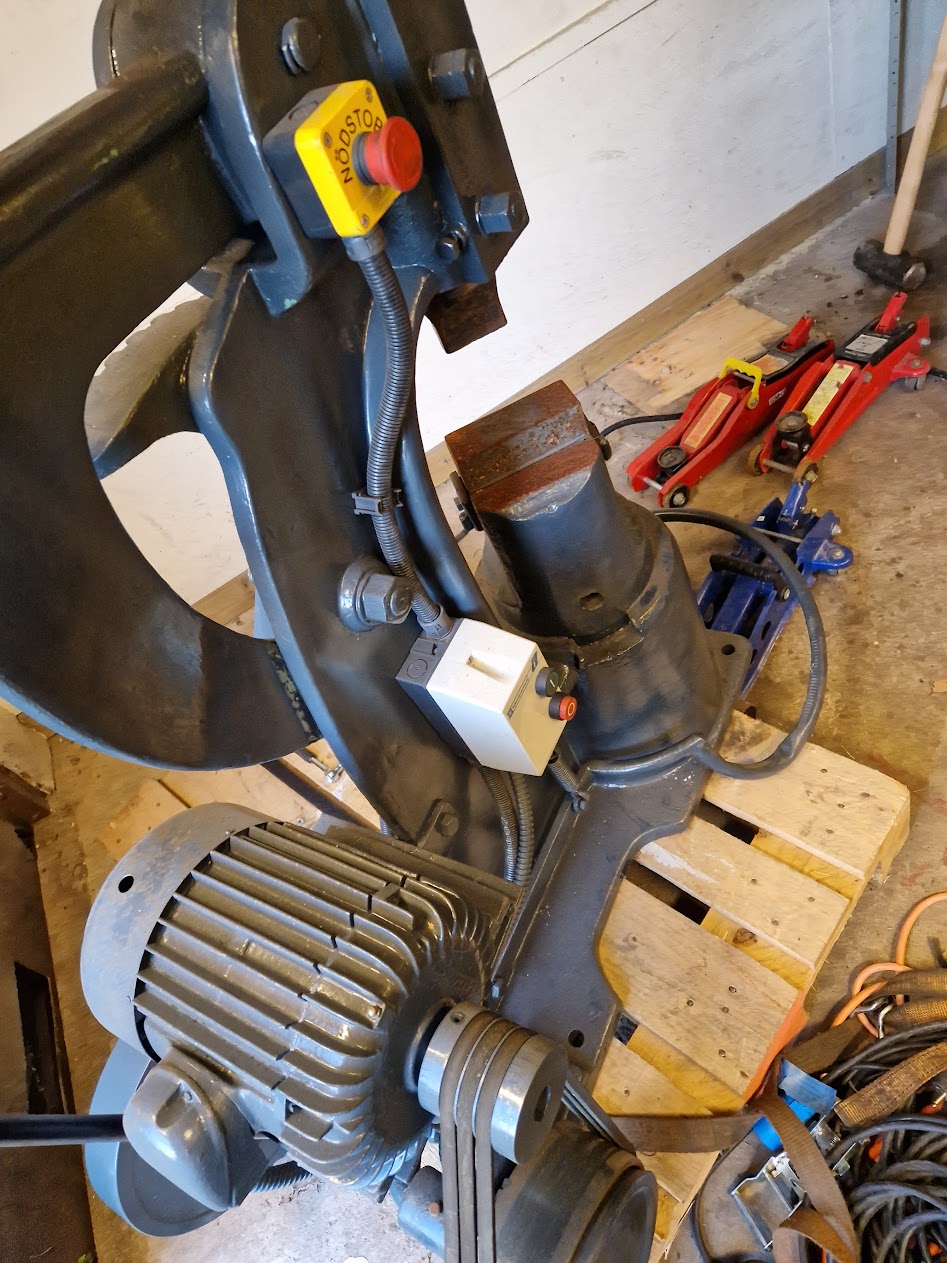
Motor connector
The power cord was cut, so I installed a 16A CEE connector. The power switch for the all three phases is really solid.

Food pedal
The foot pedal hits the ground as it is now as the machine is ment to be placed on a heel. I do not want that so I have to make some adjustment. The pedal is only a bent pipe, so I don't want to try bend it upwards. So I took the angle grinder and cut it off.
I had a long piece of mild steel laying around that I heated up and bended in the right curve and welded it on. Not my most prettiest work, but it is good enough for now.
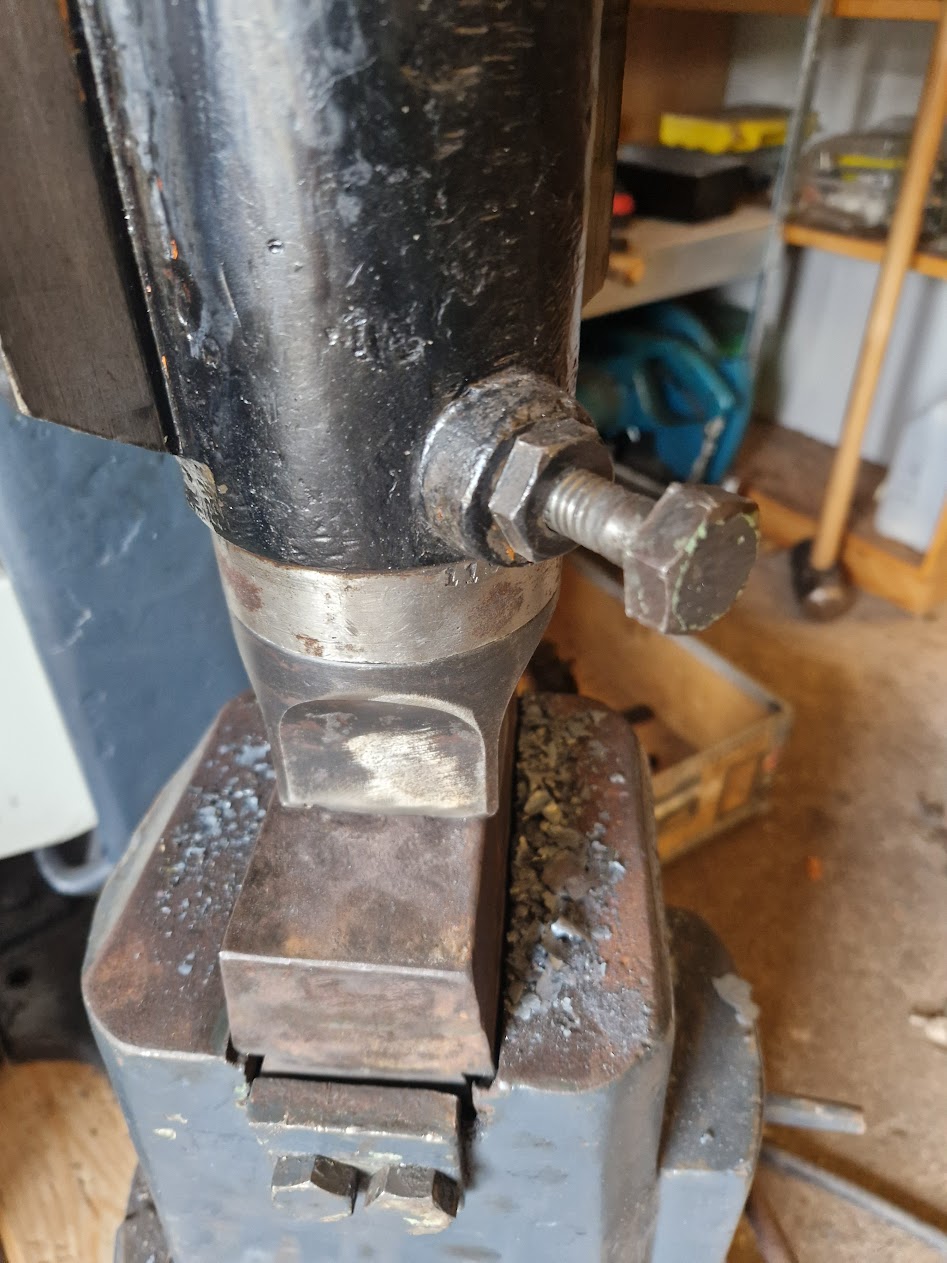
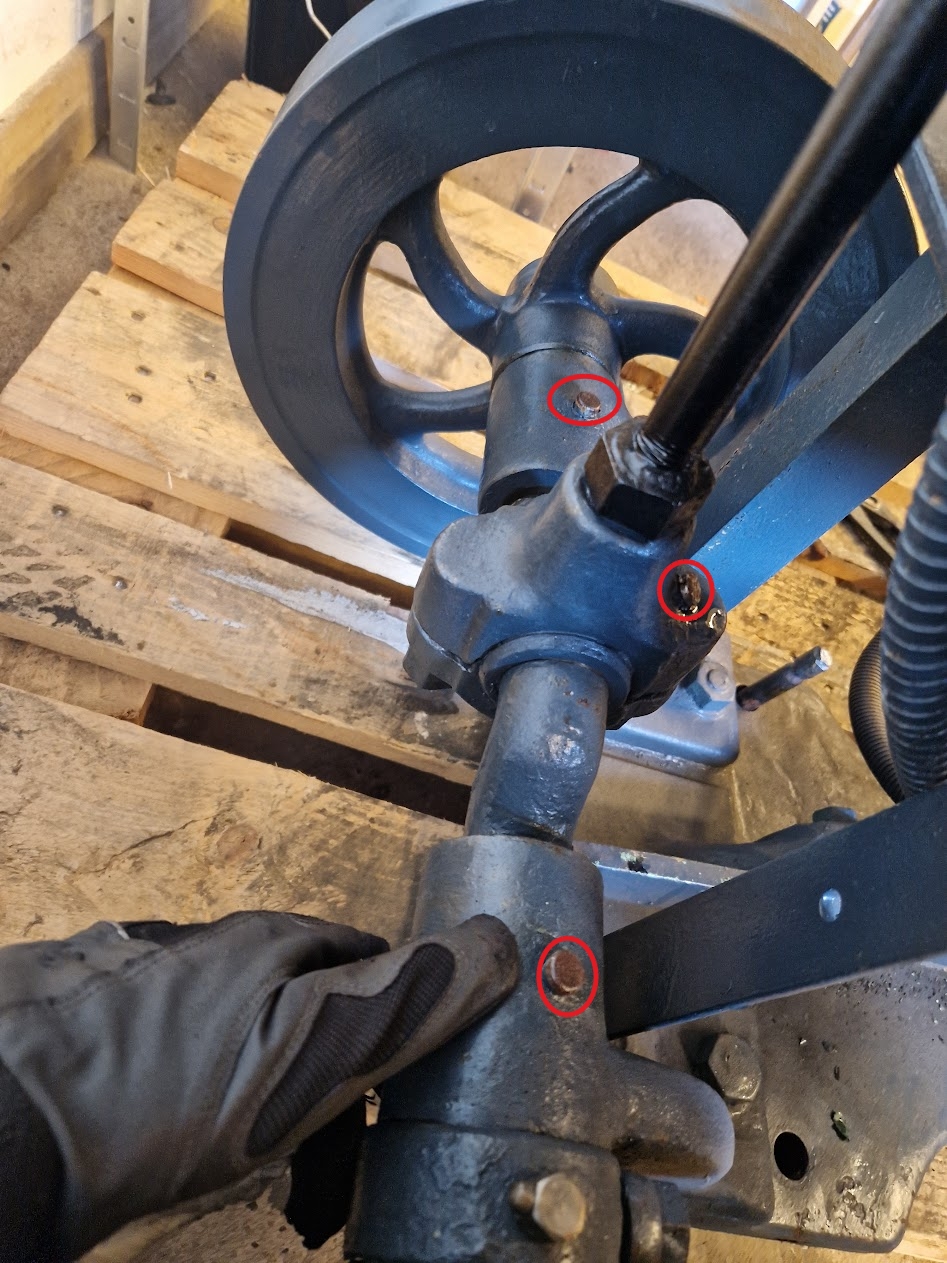
Hammer head
This bolt should hold the hammer head in place. But the "bolt" was just a nut...
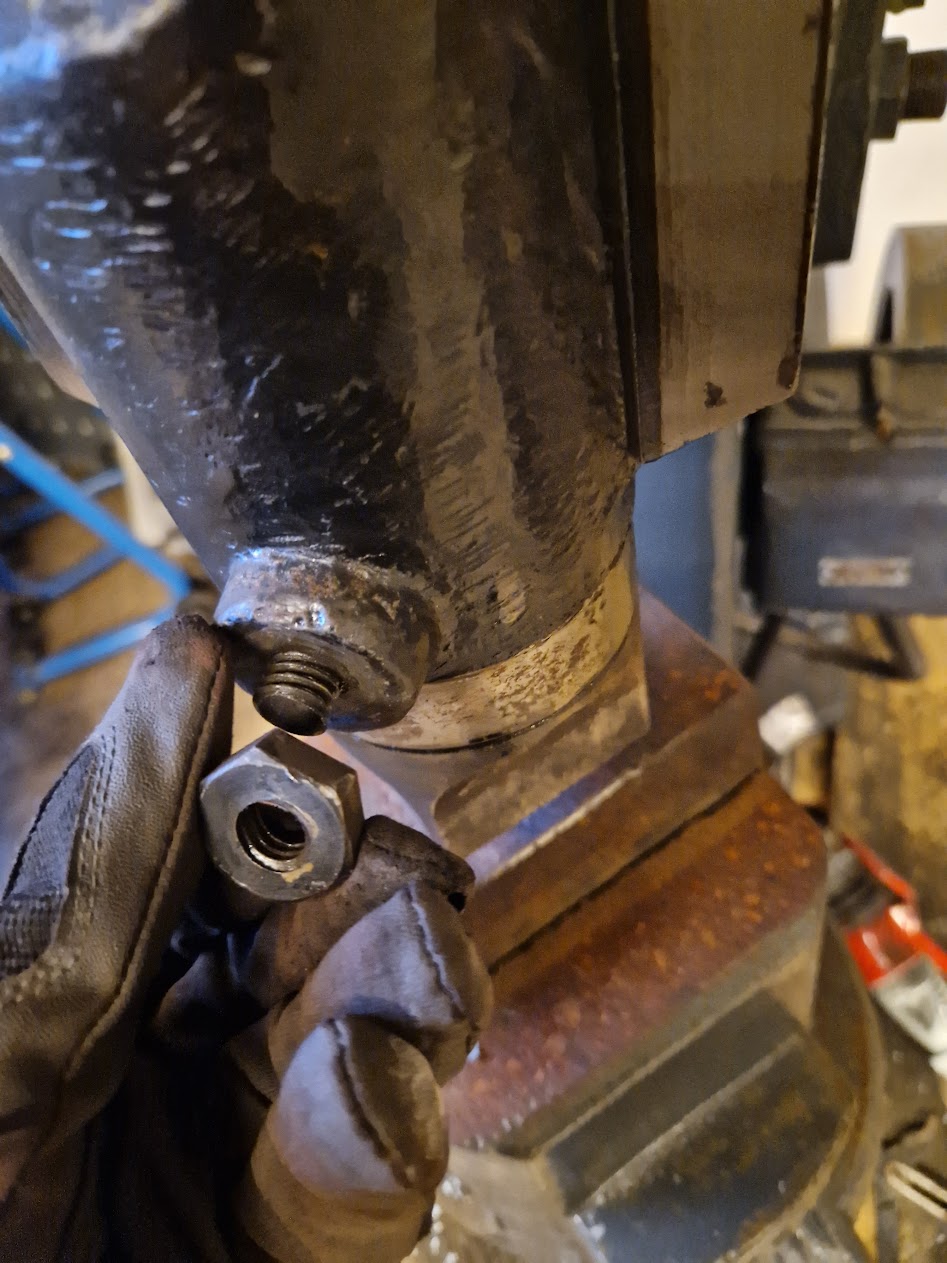
I welded another nut on the threaded rod and managed to unscrew it. Then I saw that it was off in the middle.
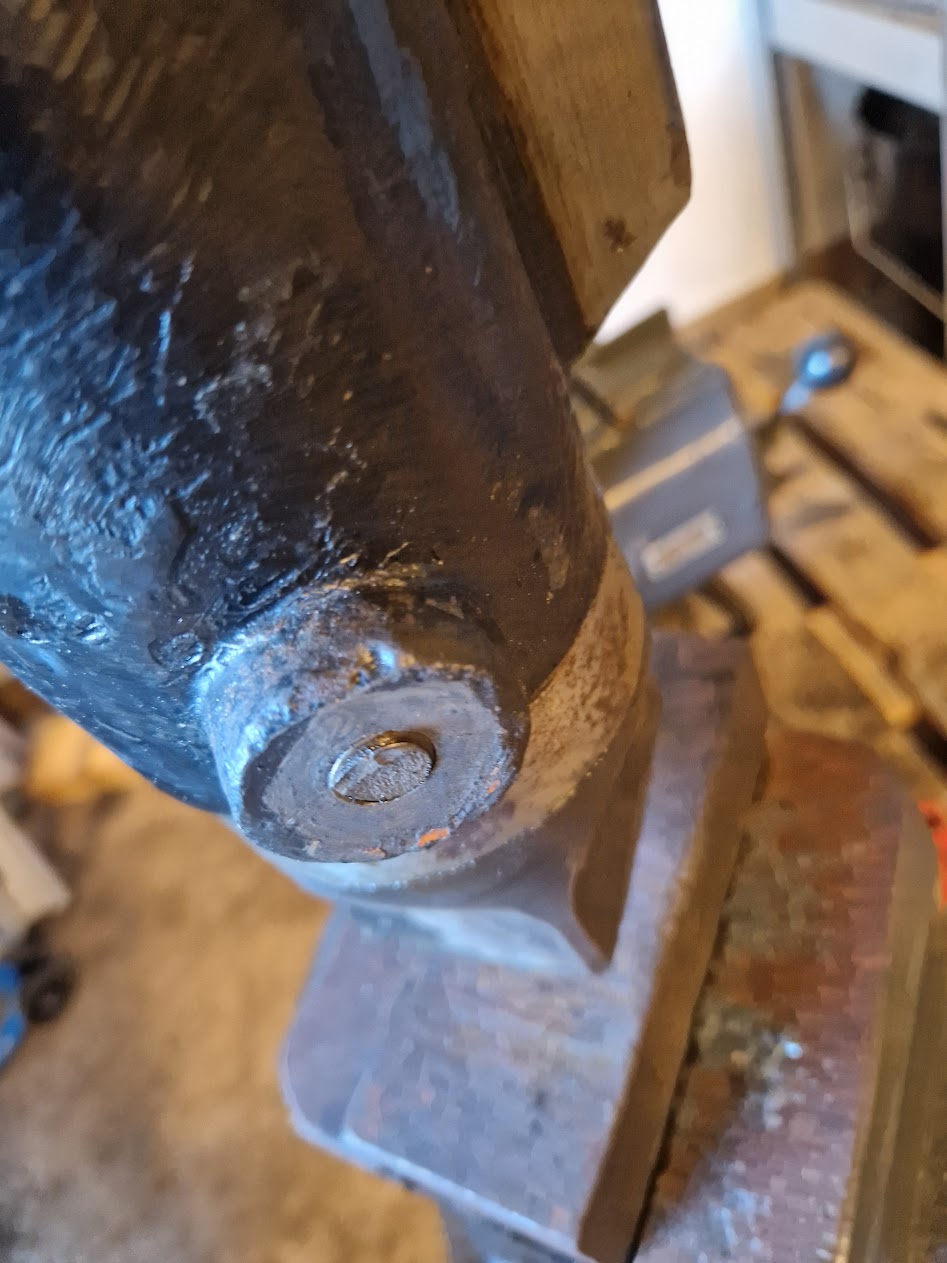
After sucesssfully unscrewed the last piece the hammer head is out.
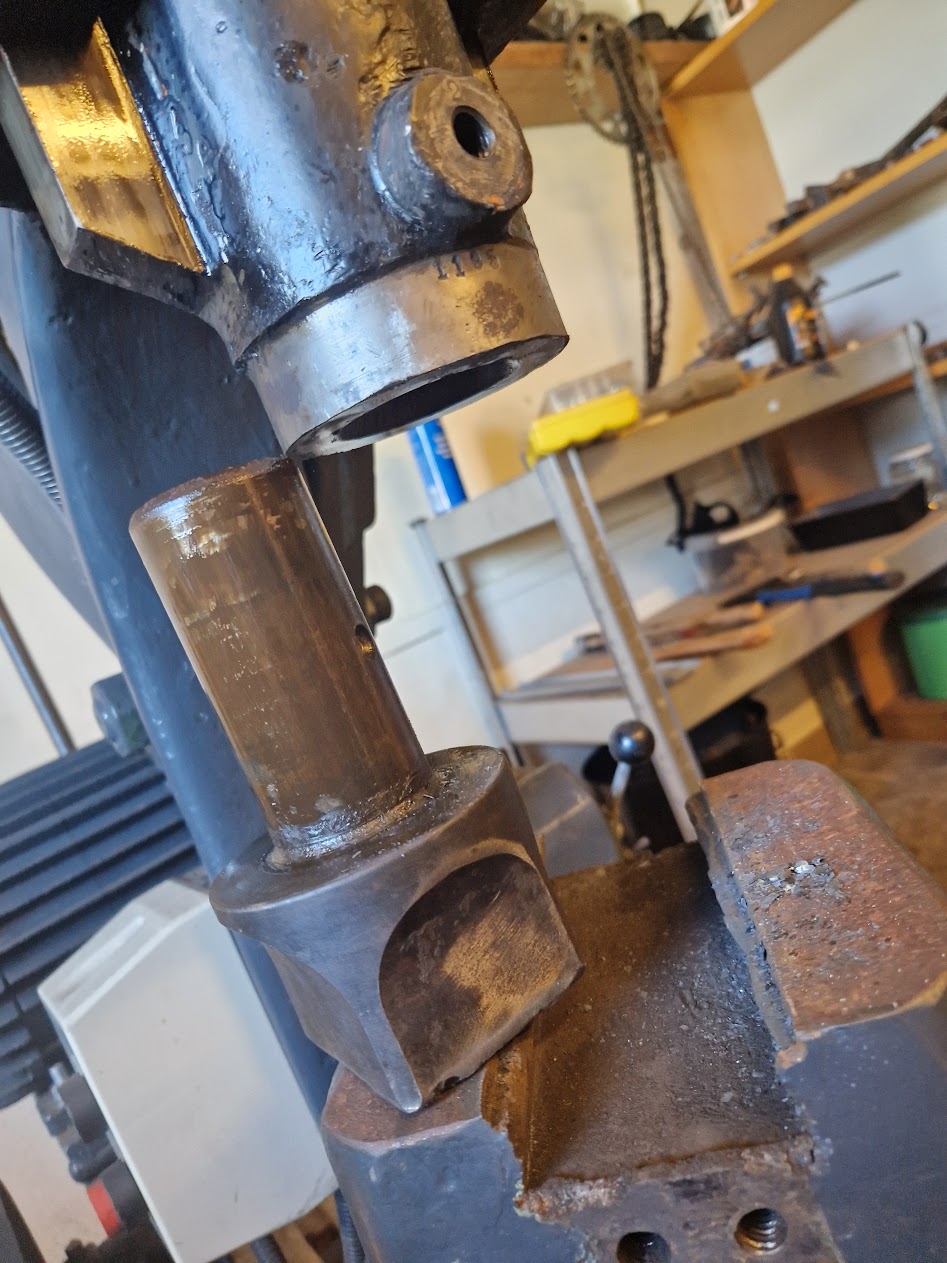
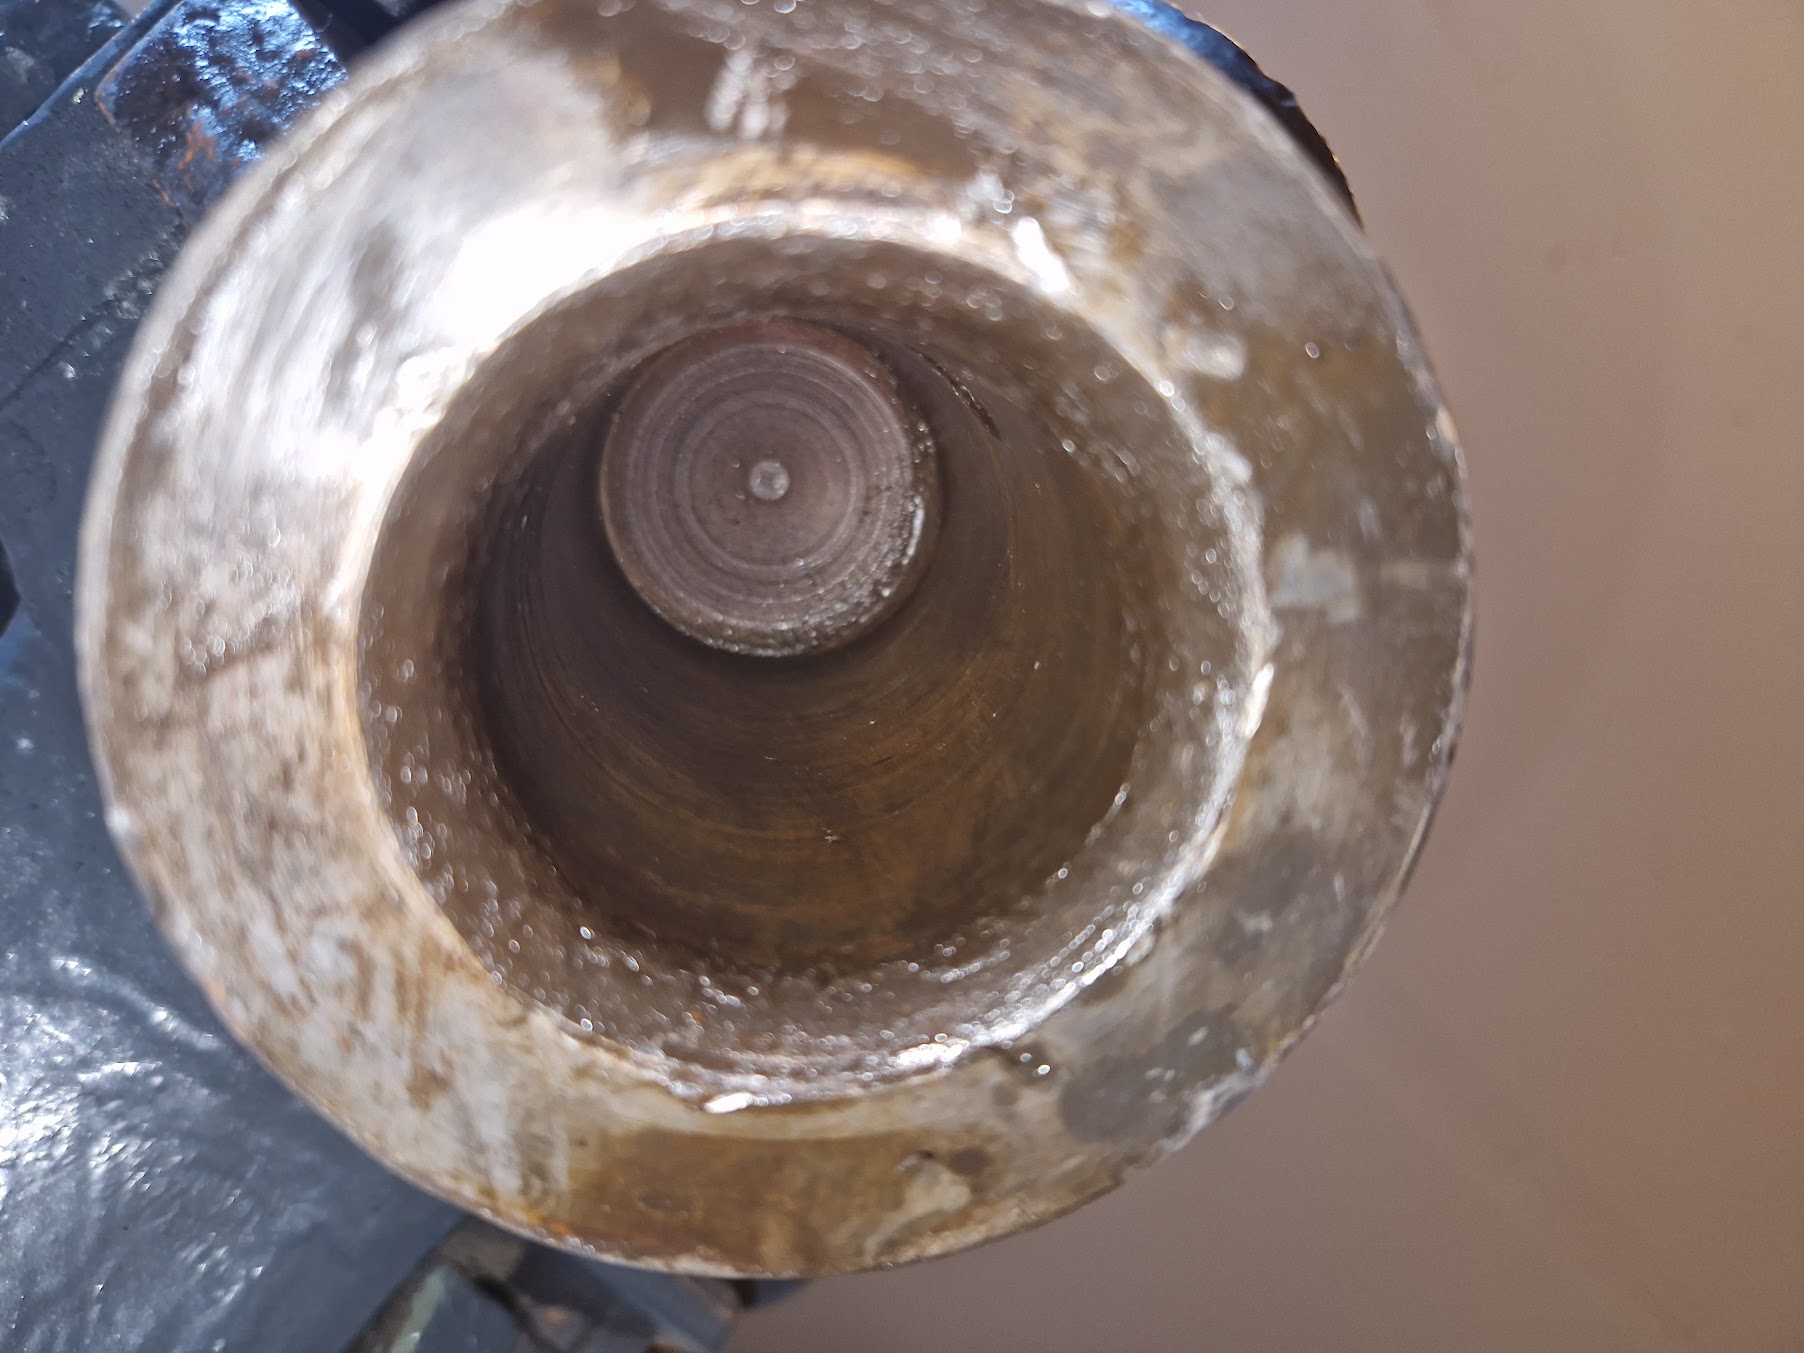
The hammer head did not move smoothly. The cylinder has a very tight fit. There is even a vacuum when you press on the head, so all unevenness has to be removed.
I painted the hammer head with a black alcohol pen and put it in the cylinder to see where it rubbed paint off. It was right above the screw hole.
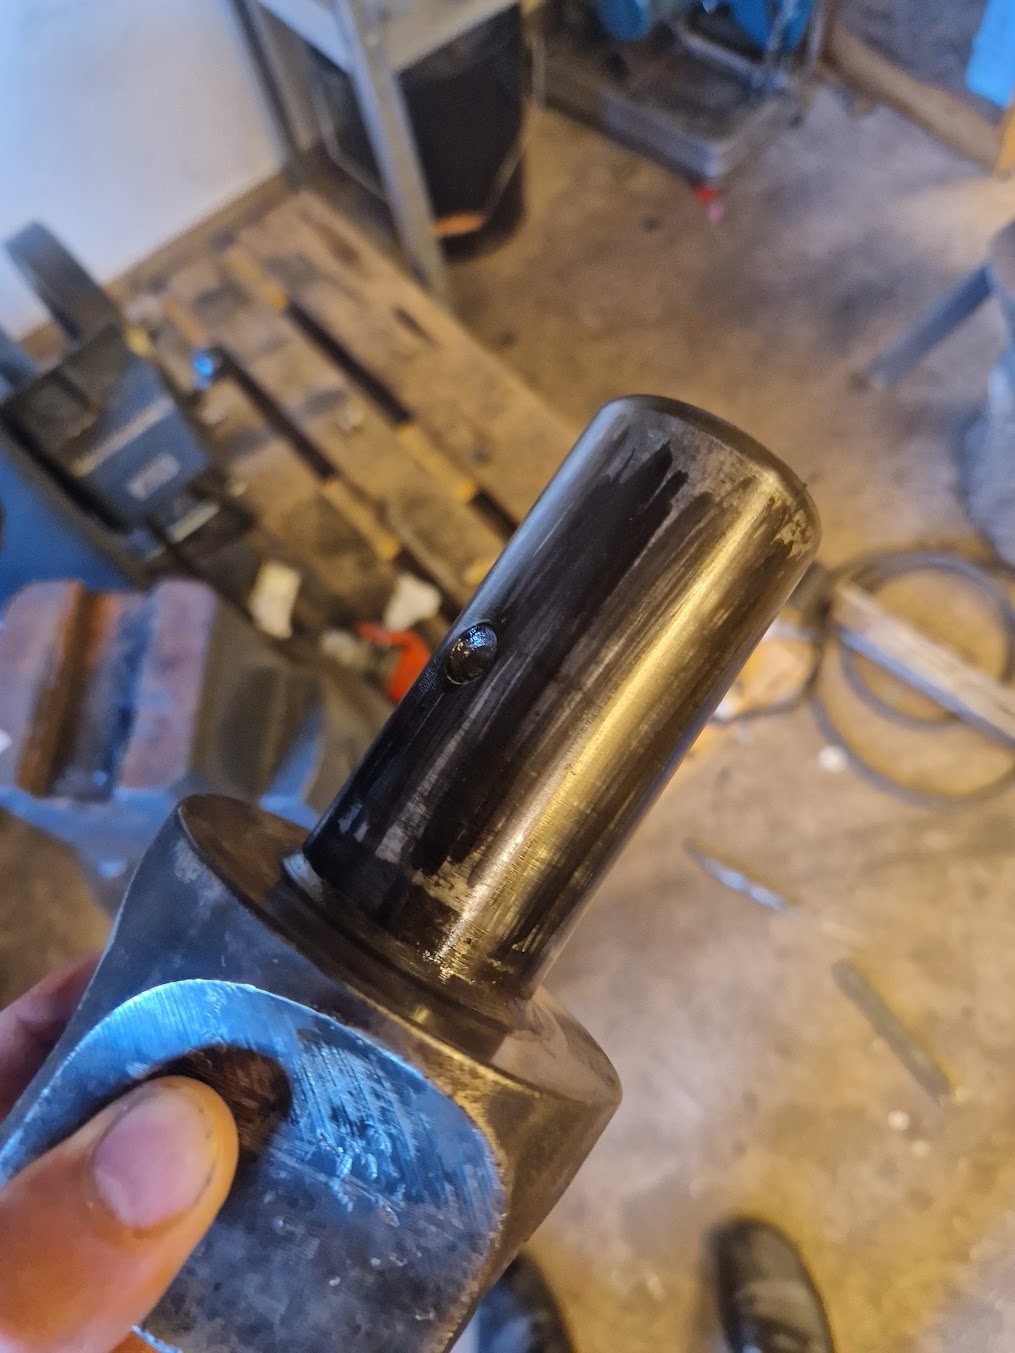
I filed away the burrs on the head and did the same in the cylinder.
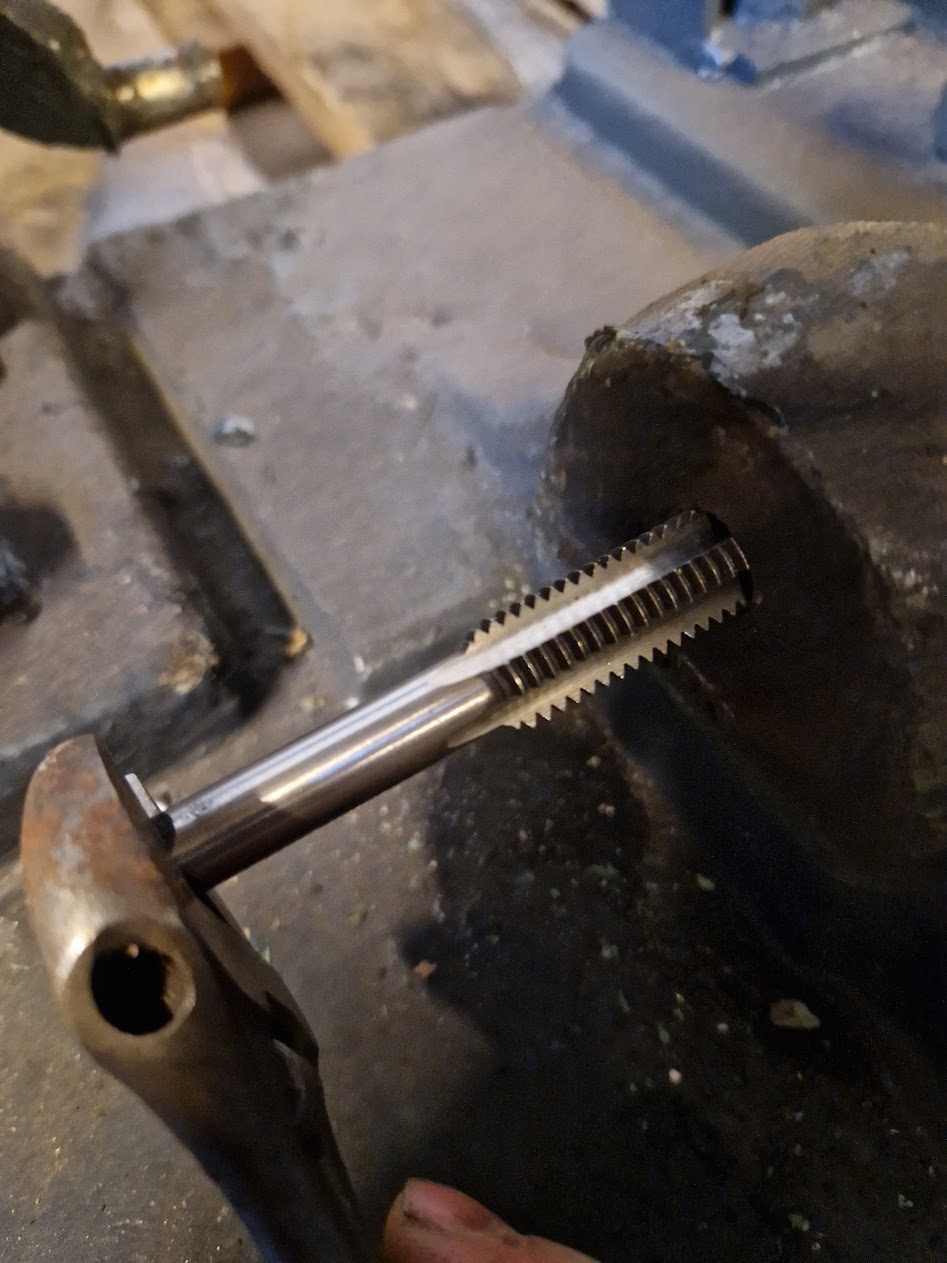
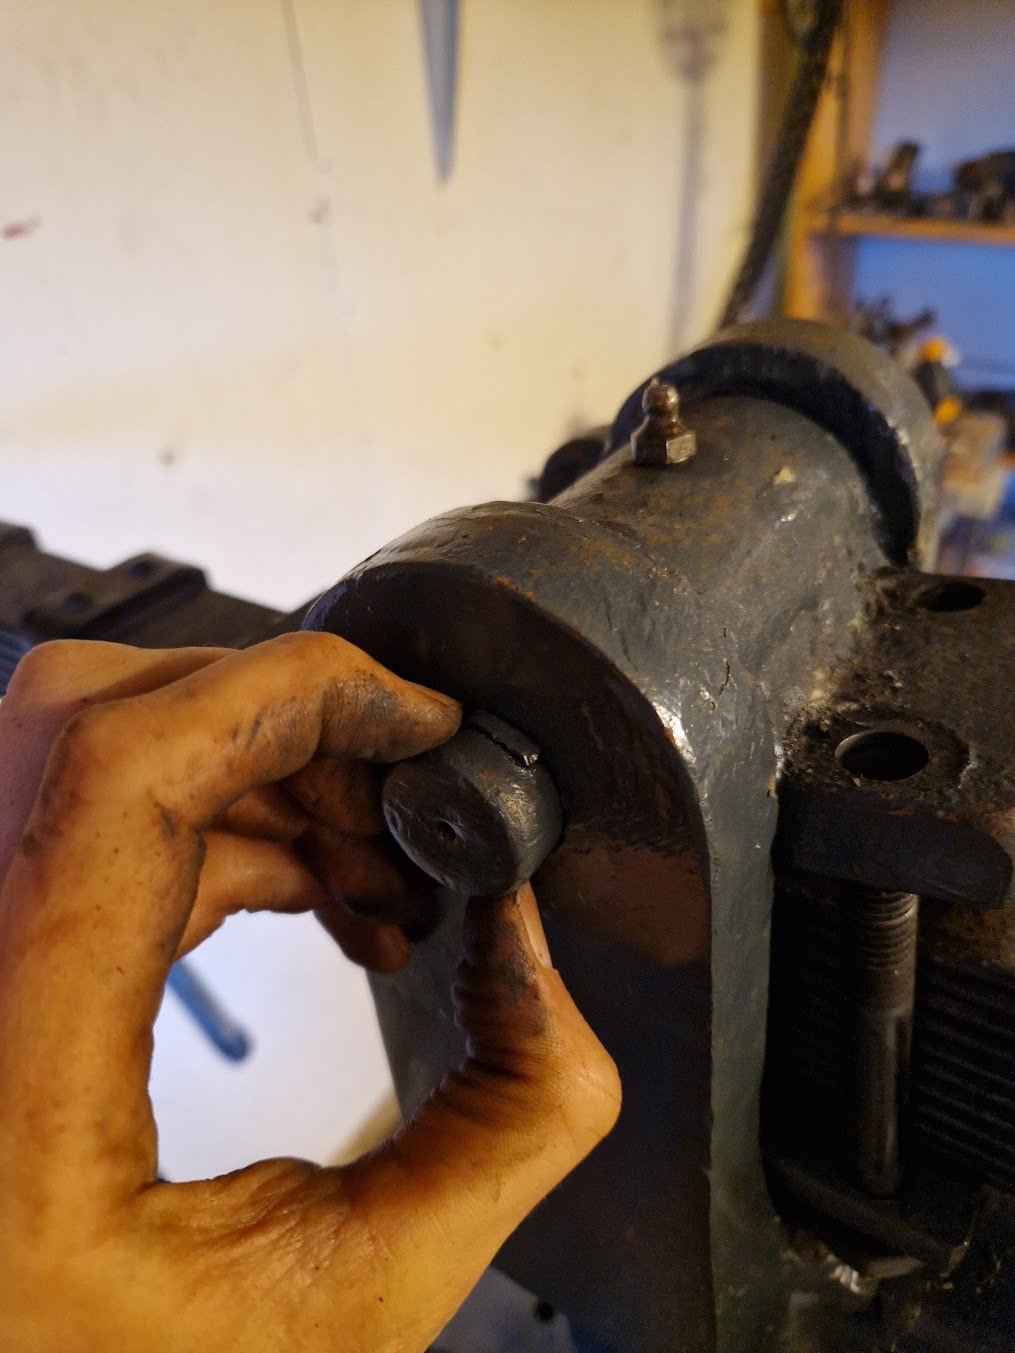
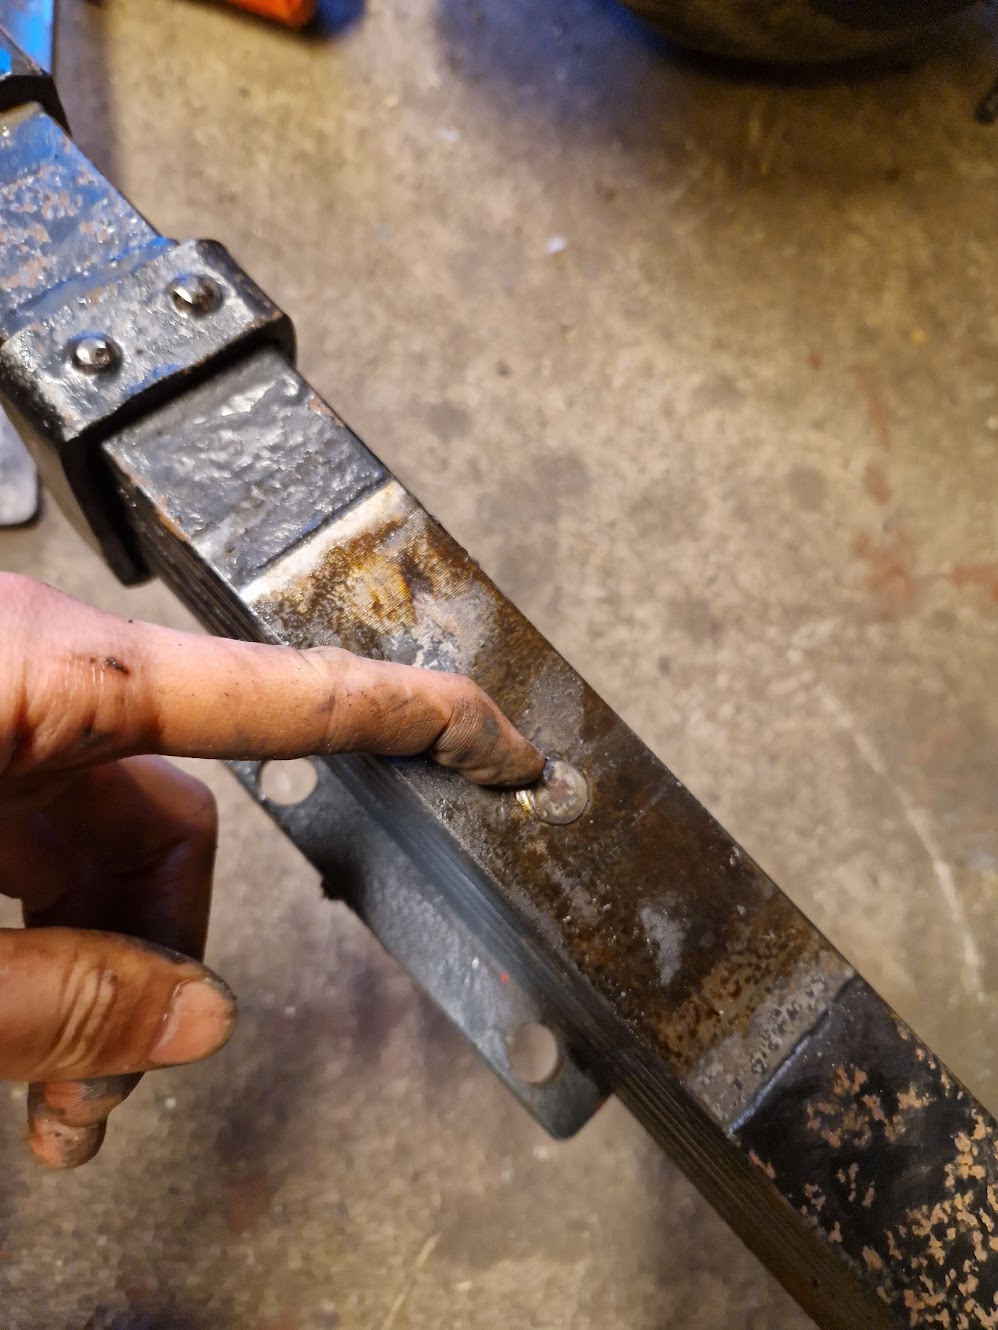
I needed a new bolt, but it was not easy to find one in any local store. It is a M12-2mm. 2mm pitch is commonly used for M16. M12 usually has 1.75mm pitch.
The bolt that holds the foot pedal had the right size and thread pitch. So I took that bolt to use with the hammer head and rethreaded the hole to M12-1.75mm. I use the old nut to lock the screw that holds the hammer head in place.
The hammer head now goes in and is locked in place by the screw.
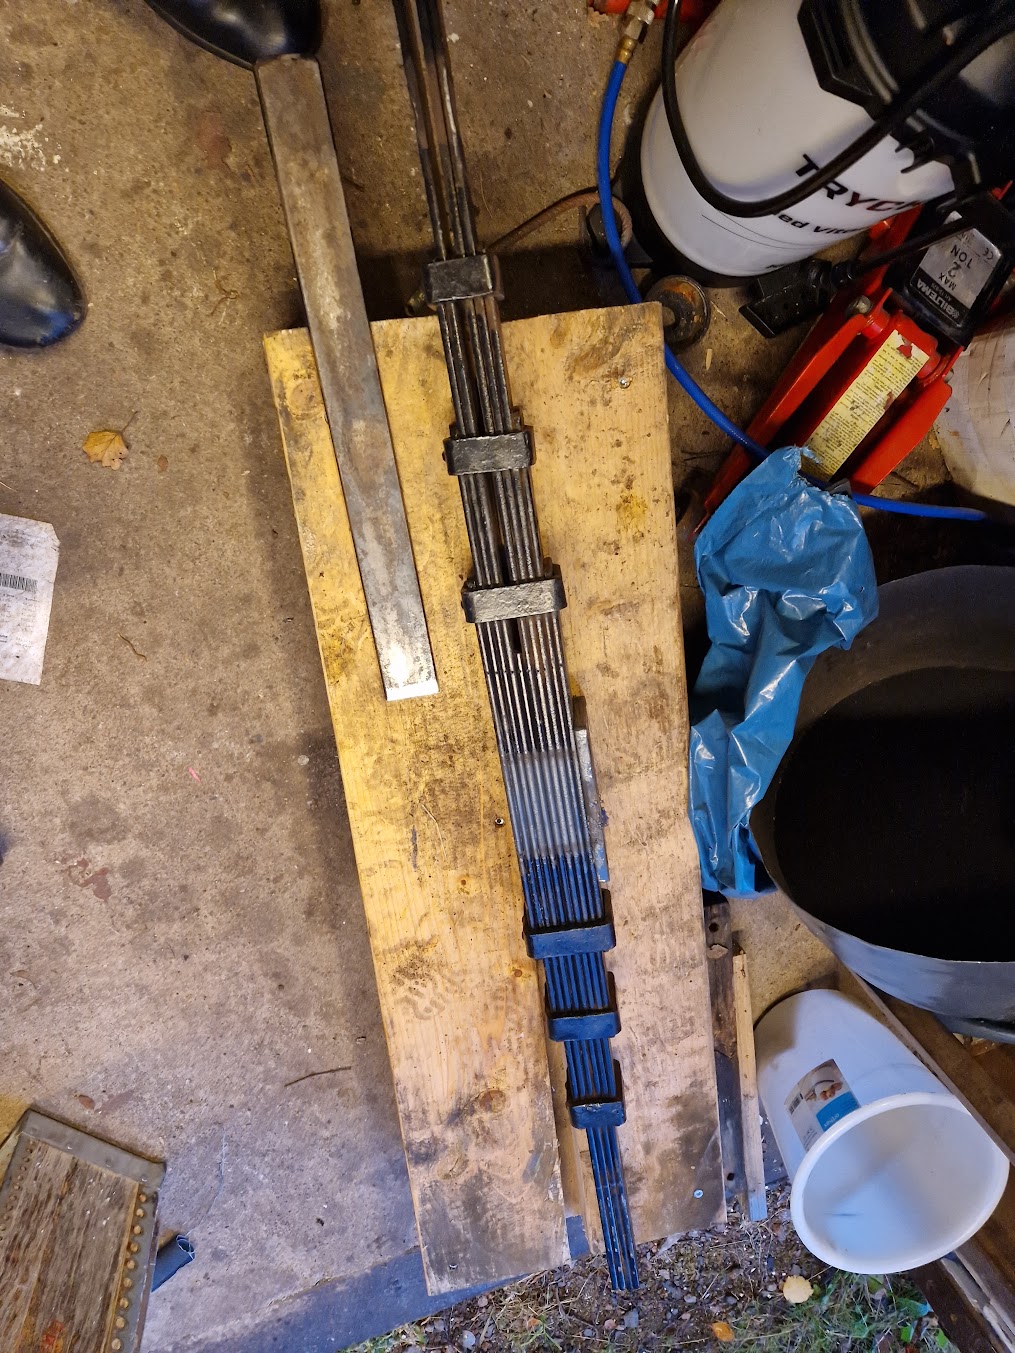
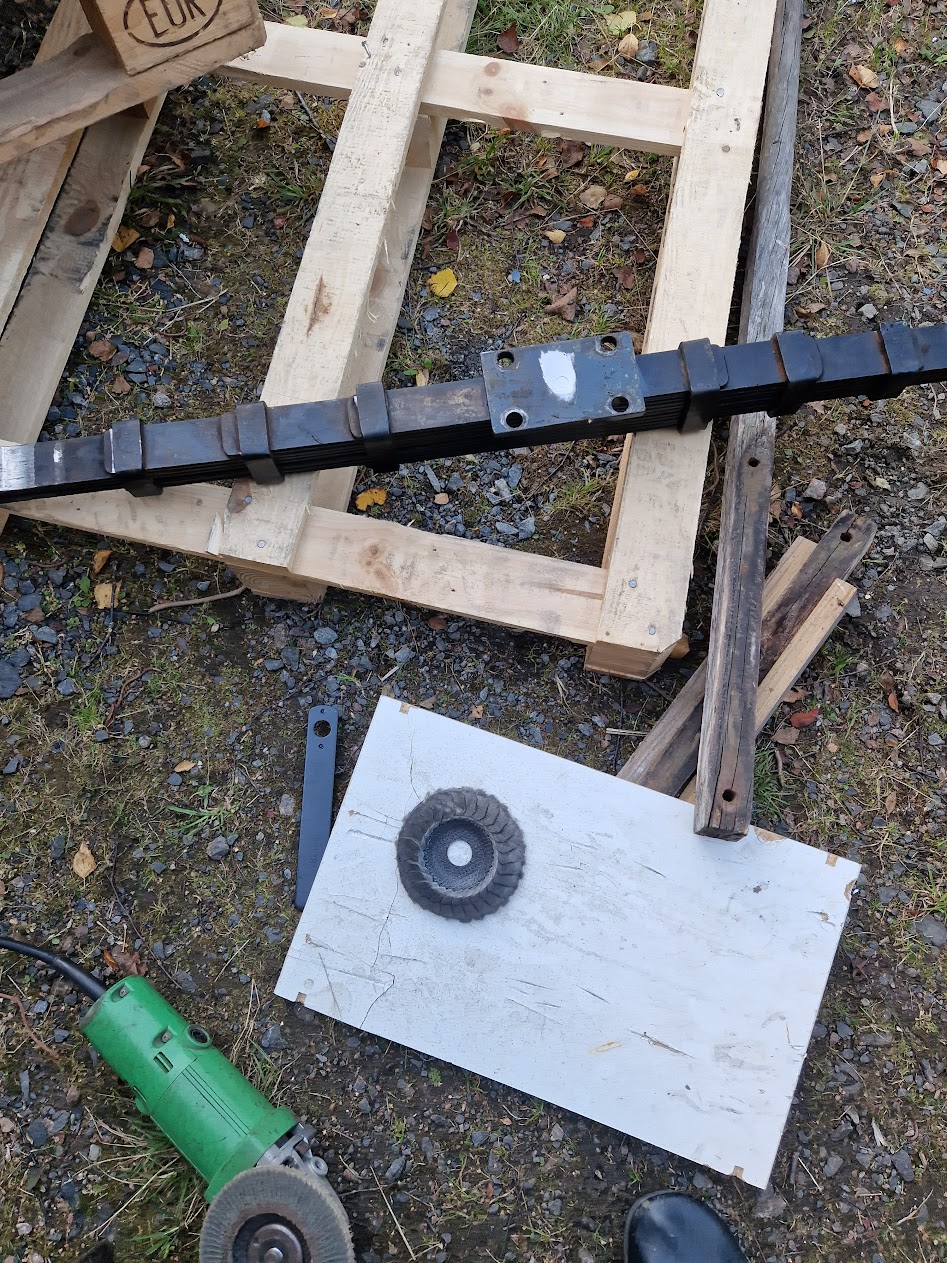
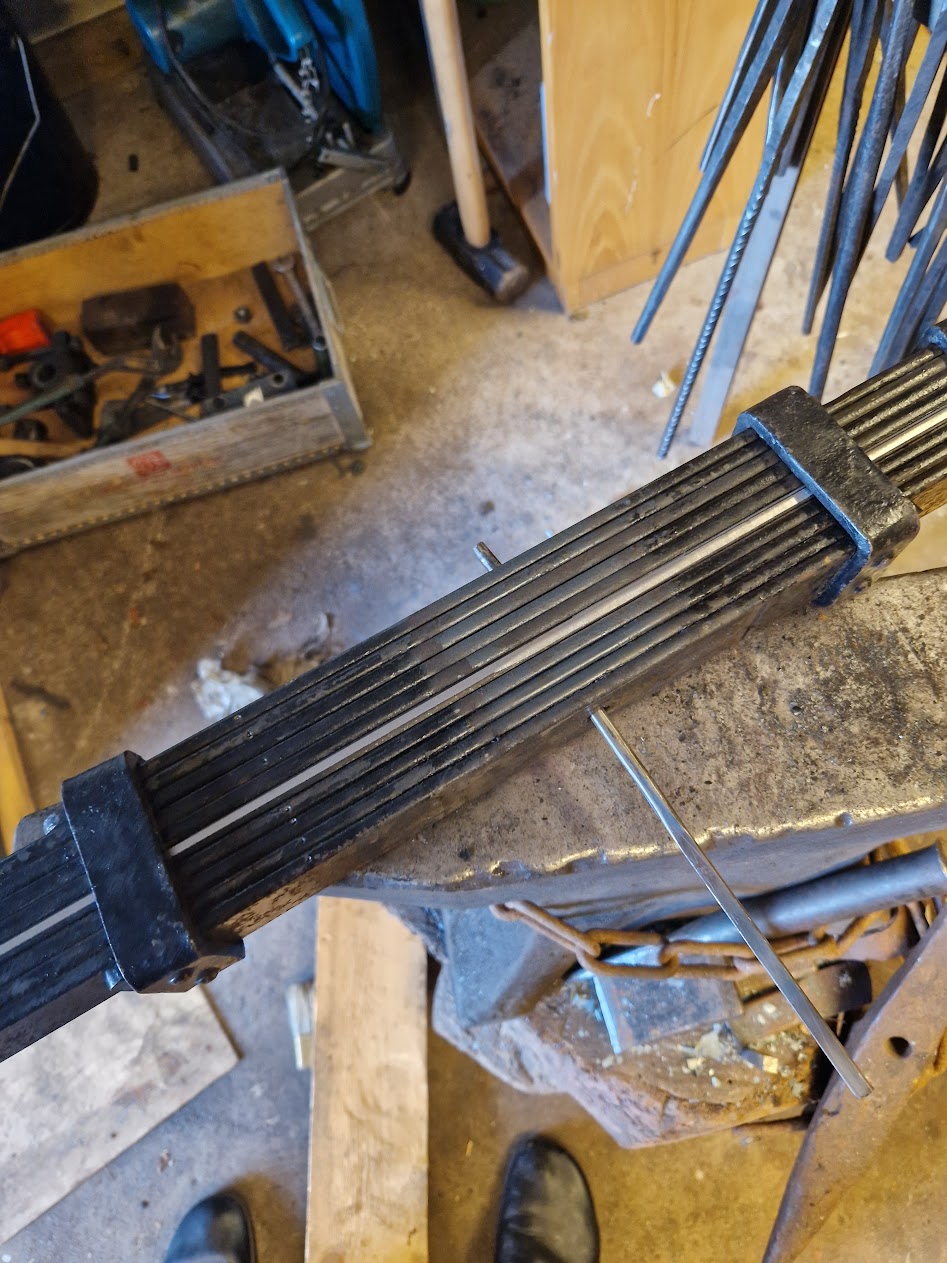
The spring
One of the springs in the middle of the spring pack was off and had to be replaced. I unscrewed the four bolts on the top, removed the sprint and then the axle.
Removed the screw that holds the rear arm in place.
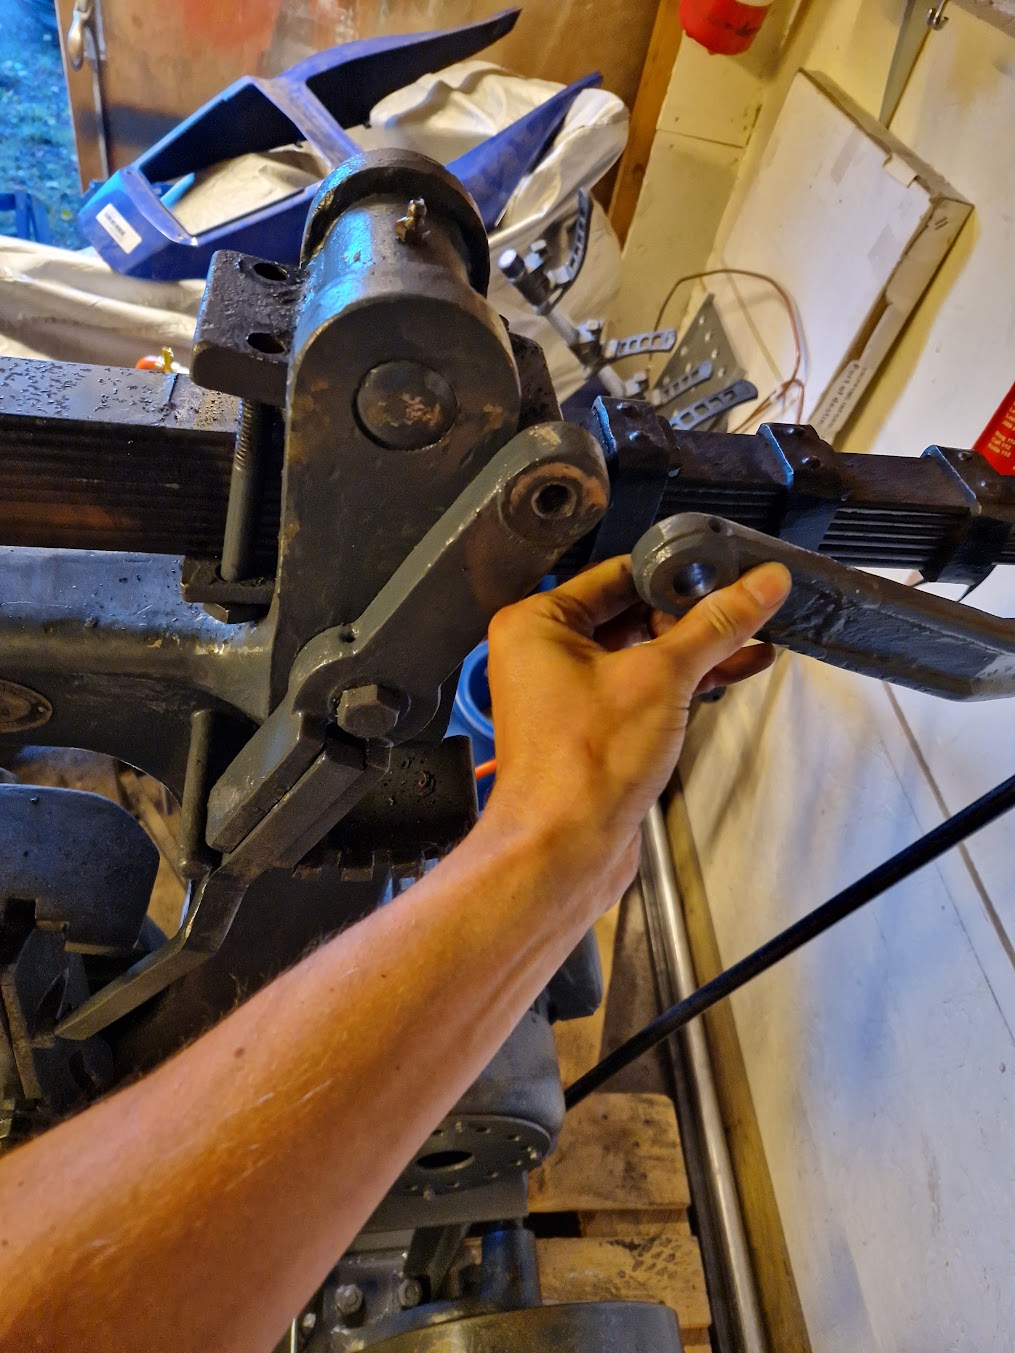
Then it is just to remove the whole spring pack.
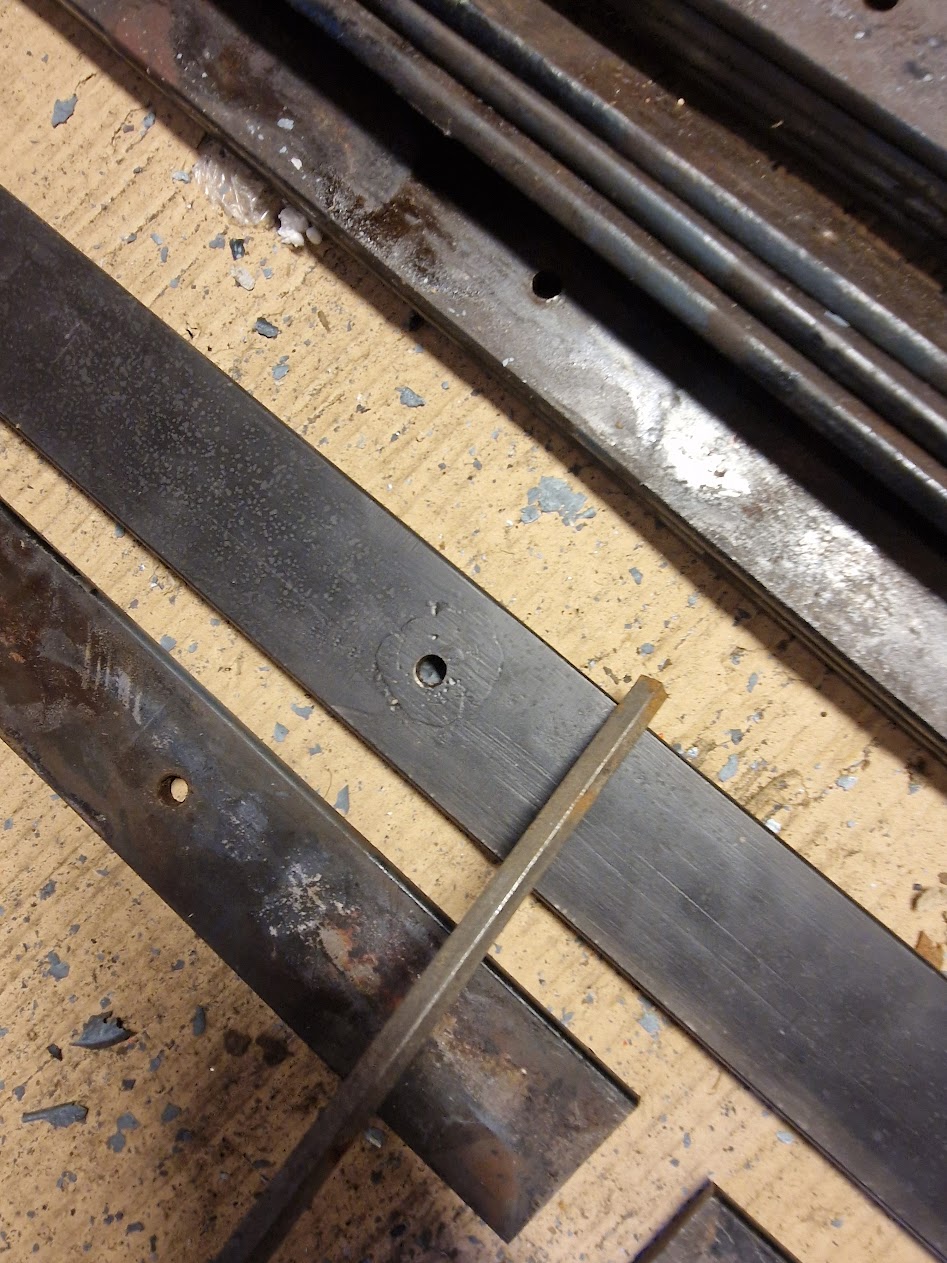
There is a guiding bolt that keeps the springs aligned.
The top has to be filed down in order to remove it. I used the angle grinder for this.
It took a while to get a replacement spring, but I got good help from Tord @ Thor's forge [1]. He made me a new one. Thanks!

I had no 7mm round bar to use as a guiding bolt, so I took a 8mm square bar.
And rounded it with the hammer.
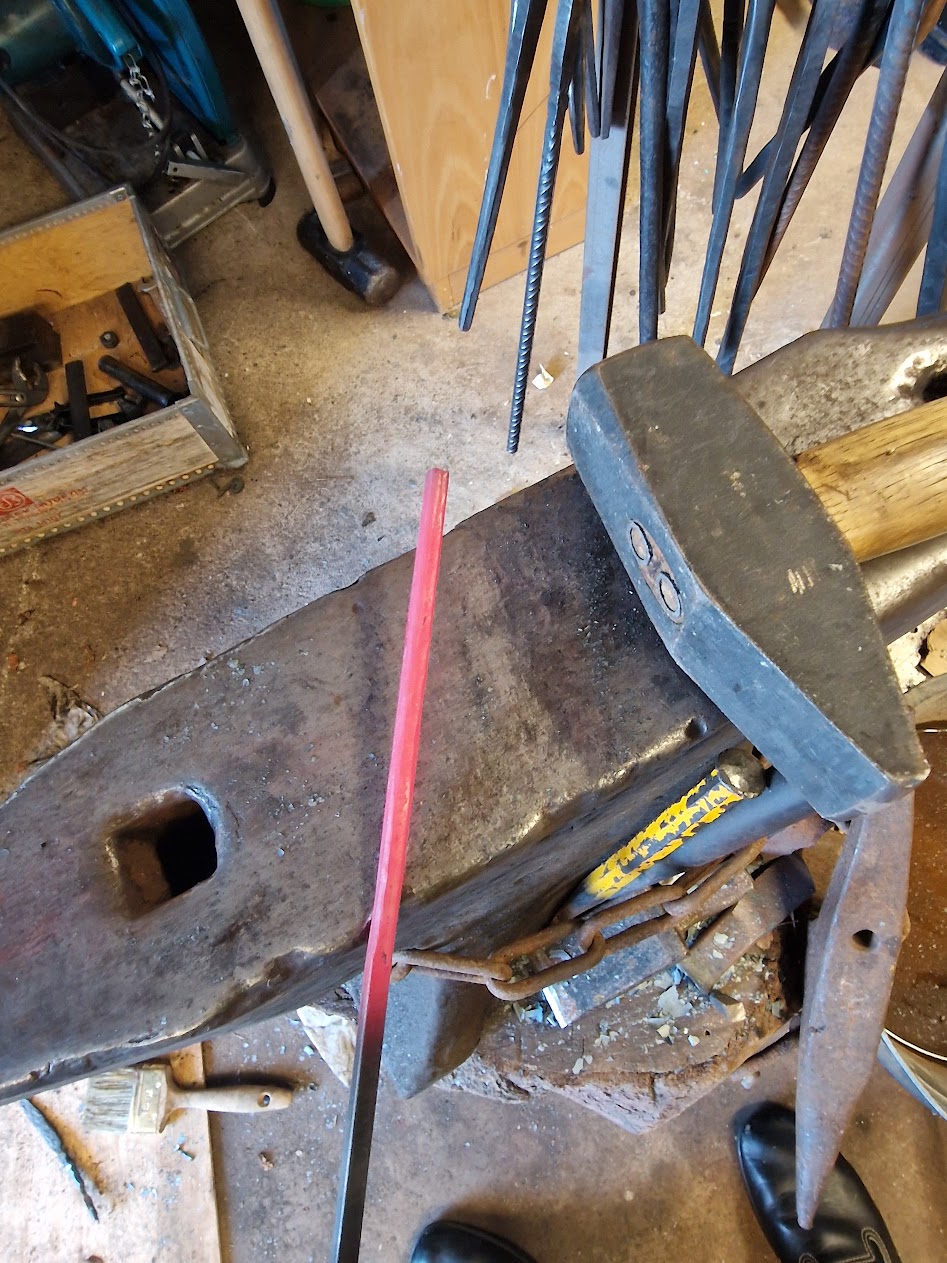
The result after a few strokes with the beld grinder.
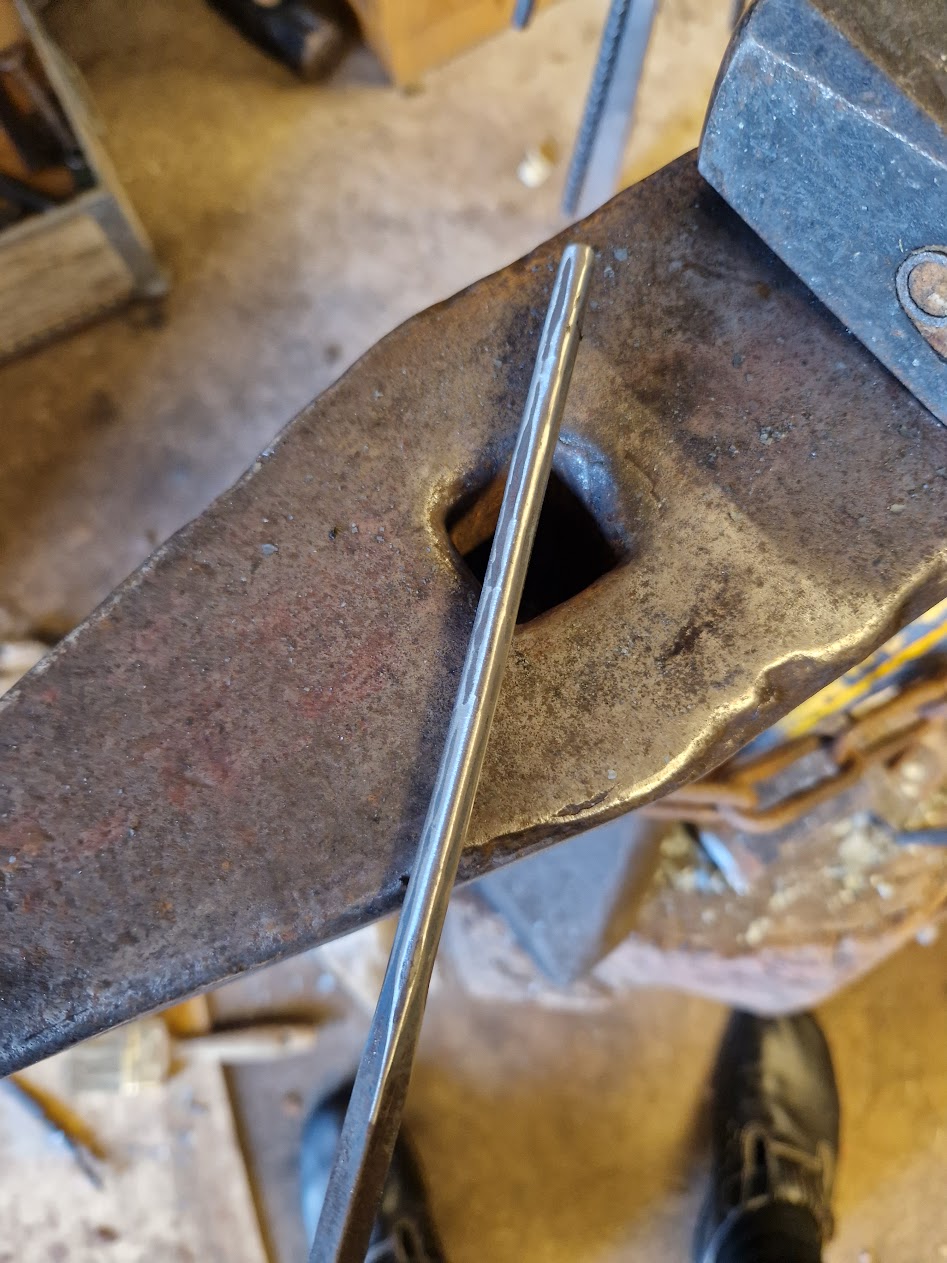
It fits perfect.
Now it is just to assemble everything in reverse order.
Lubrication
All moving parts need to be lubricated to prevent wear.
Fill the top of the spring pack with grease.
And oil so that the hammer head moves freely. I took motor oil for a lawn mower for this.
The crank wheel also need oil&grease.
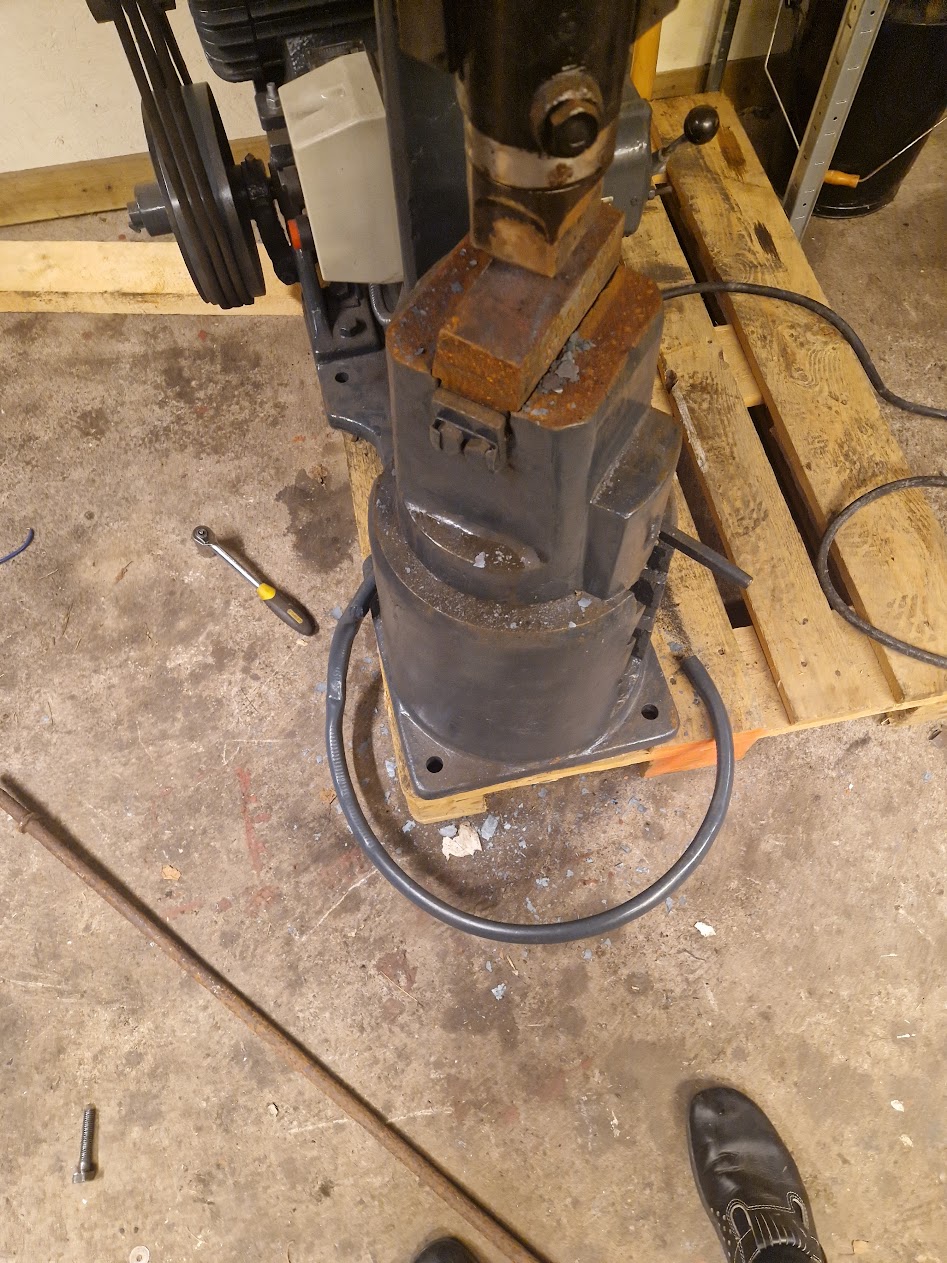
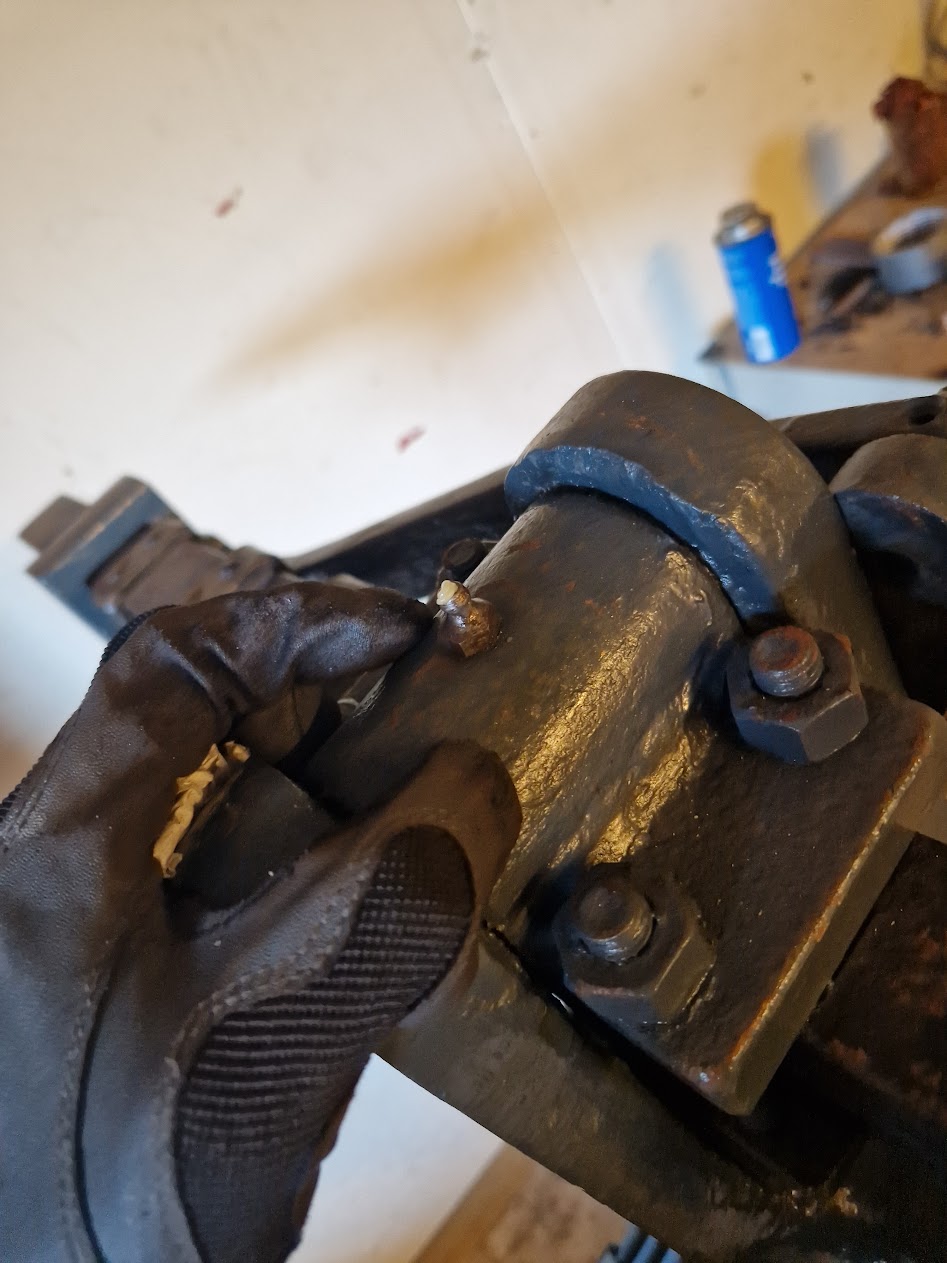
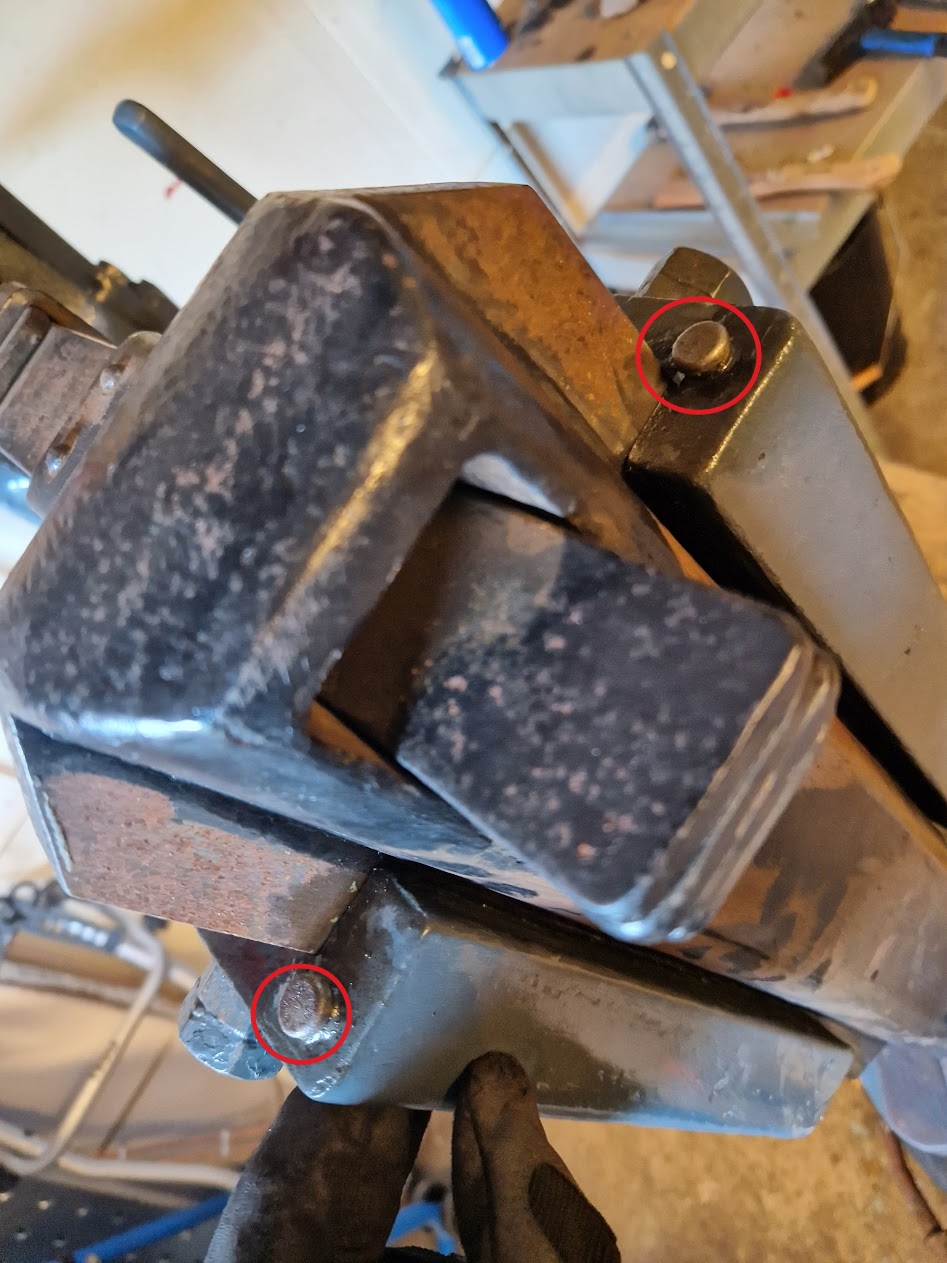
The anvil
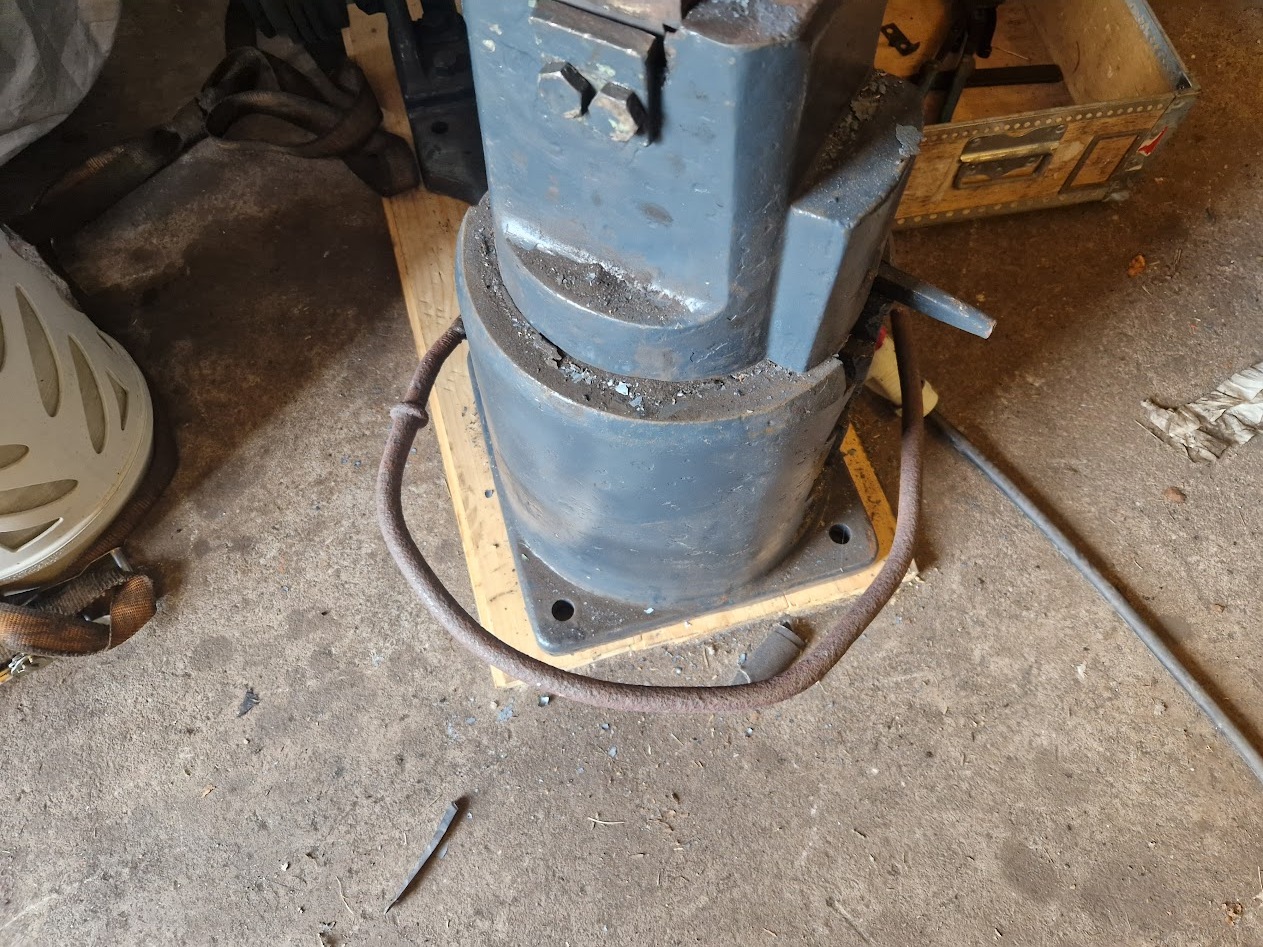
This is not how it should look. The anvil should be locked into place with two wedges.
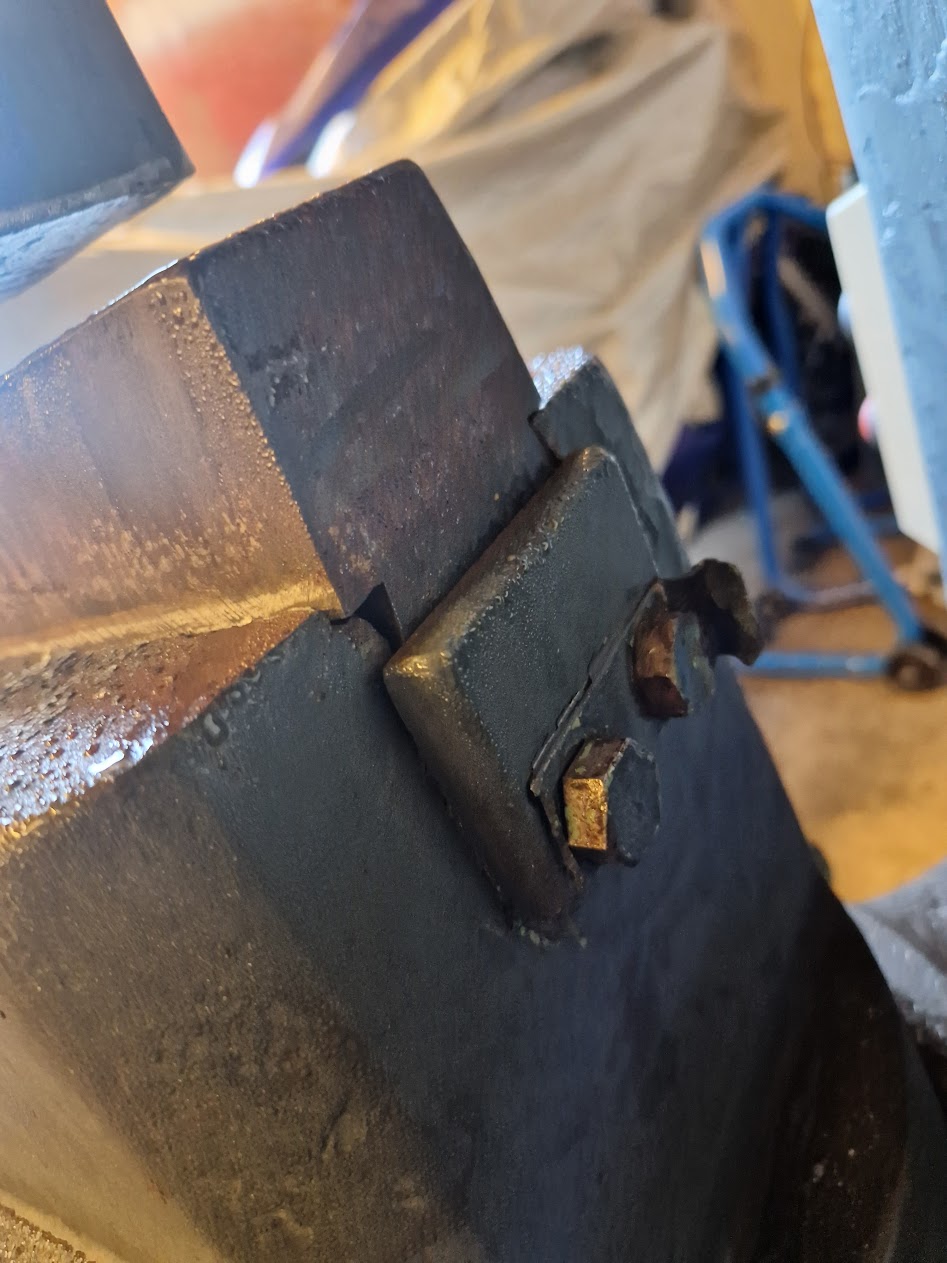
Like here:
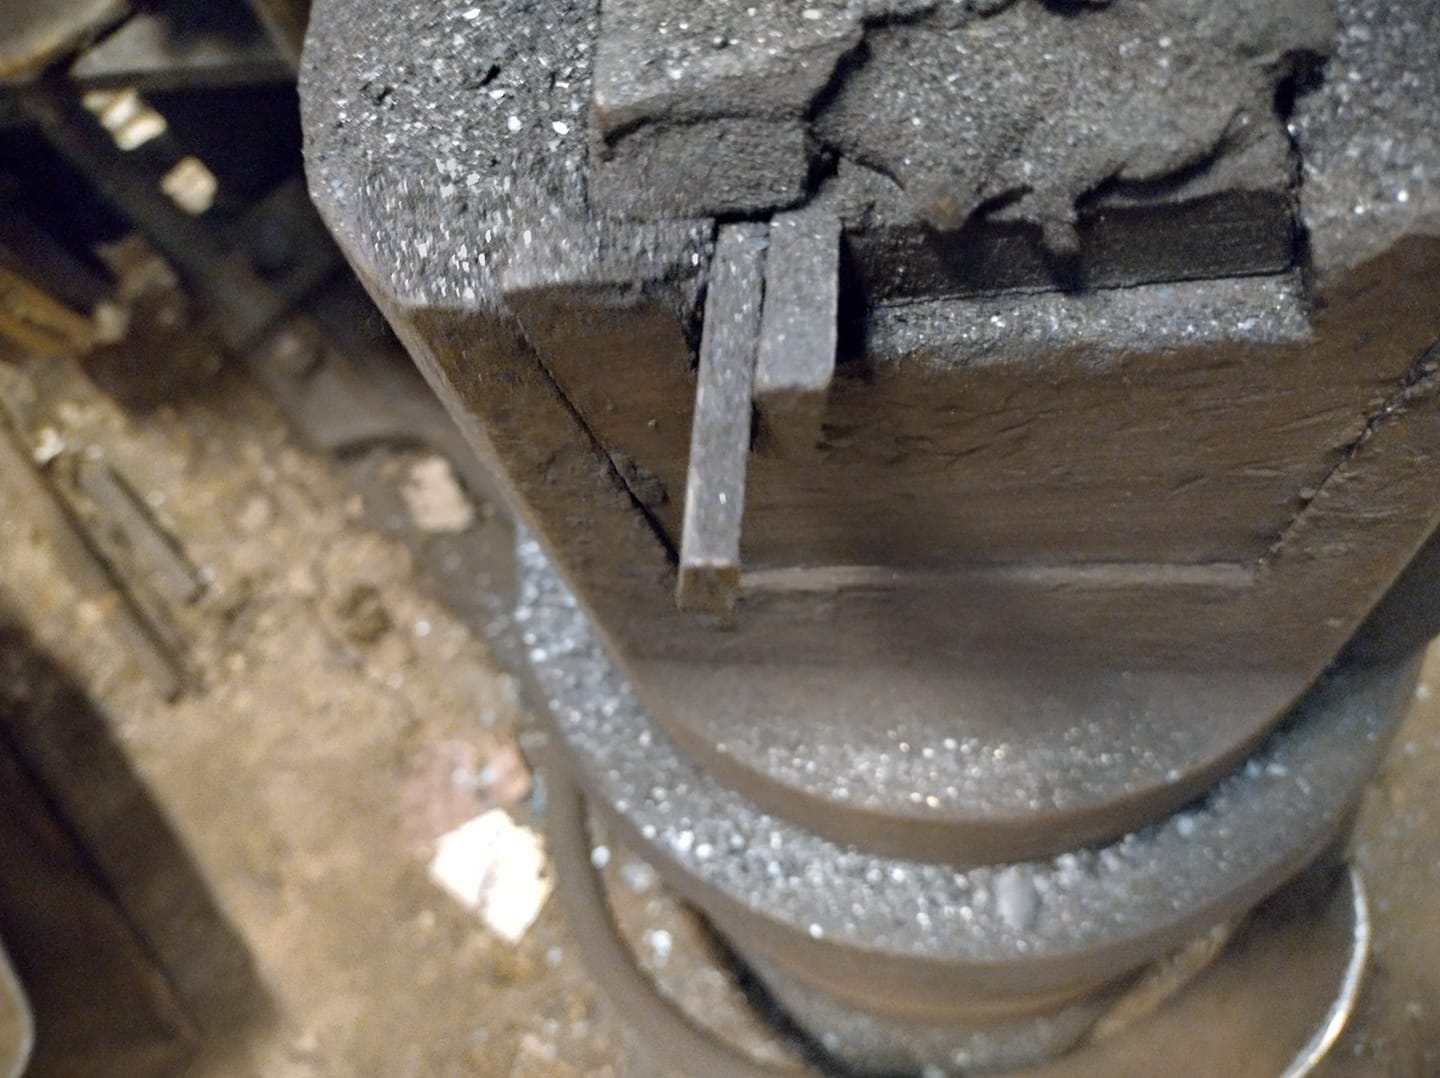
The stab (Well, it is stab in Swedish), is made out of cast iron and has started to crumble due to this setup as the anvil "jumps around" a bit with every hammer blow. It become better with the two wedges, but it is not optimal.
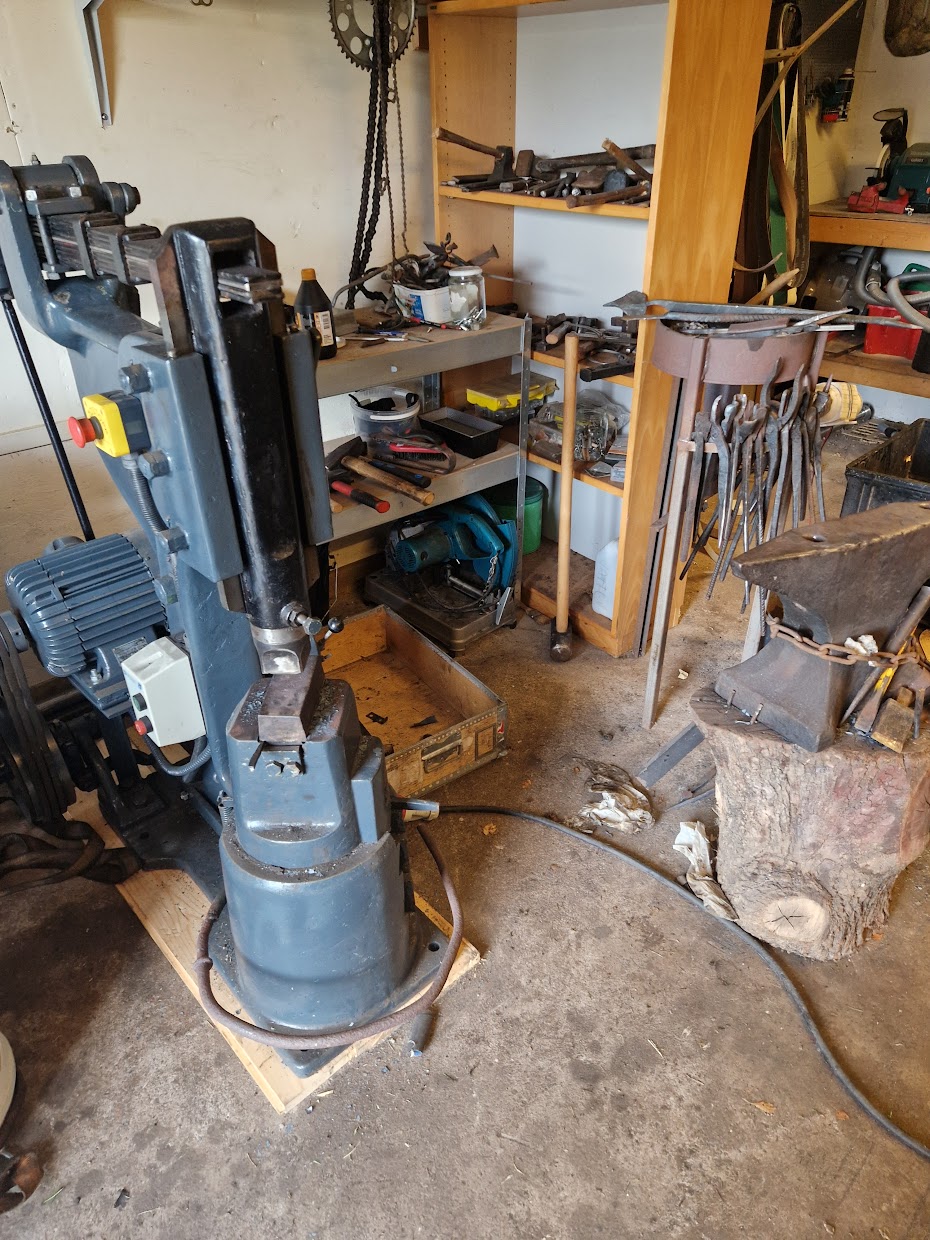
The result
Finally the hammer is fully functional. There is just a few cosmetic things left to fix, but nothing that stops me from using it. I already have a few projects in mind that I want to do, from now on it is just a matter of time.
References
| [1] | https://www.facebook.com/Thorsforge/ |