Knife Making
It's been a long time since I made knives. Knife making was actually the reason I bought my gas forge a few years ago and it's still something I intend to do. I forged a few knife blades back then, but it was way too much manual grinding to be fun and I didn't have the right tools back then, and I'm still missing a belt grinder in my toolbox...
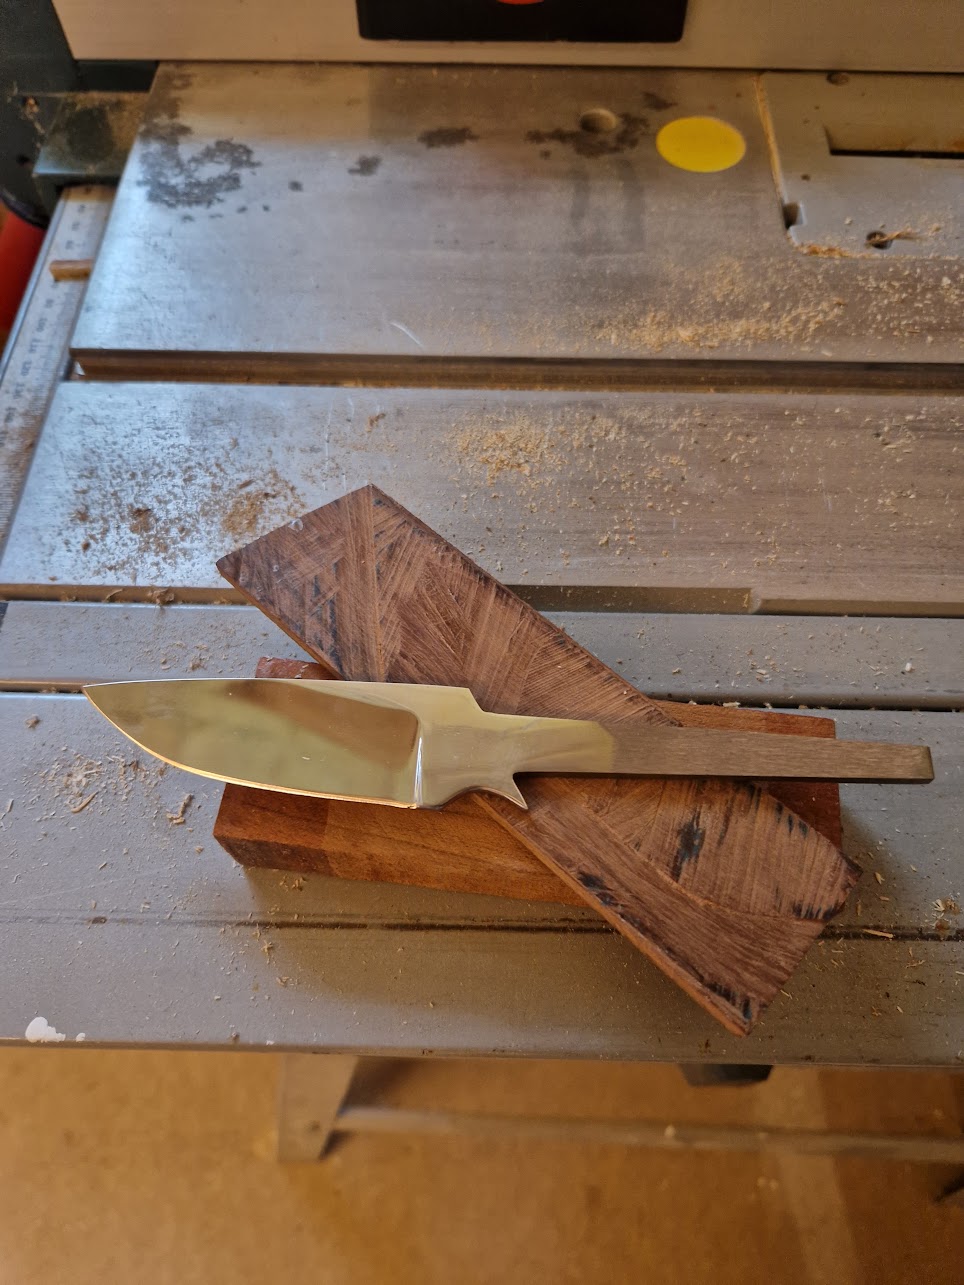
This time I will go for a purchased blade.
Last time I created a handle, I drilled a hole for the knife tang and shaped the handle around that. I found it hard to get right and did not liked the method at all. That was also a reason to why the all knife making plans was put on ice. This time I will create a three layer handle to see if that suits me better.
I started with these two pieces. One big chunk of birch and one piece of a more darker wood species (walnut?).
I cut the birch wood in half and put all three pieces into a planer. It is importande that the middle piece is of the same thickness as the blade.
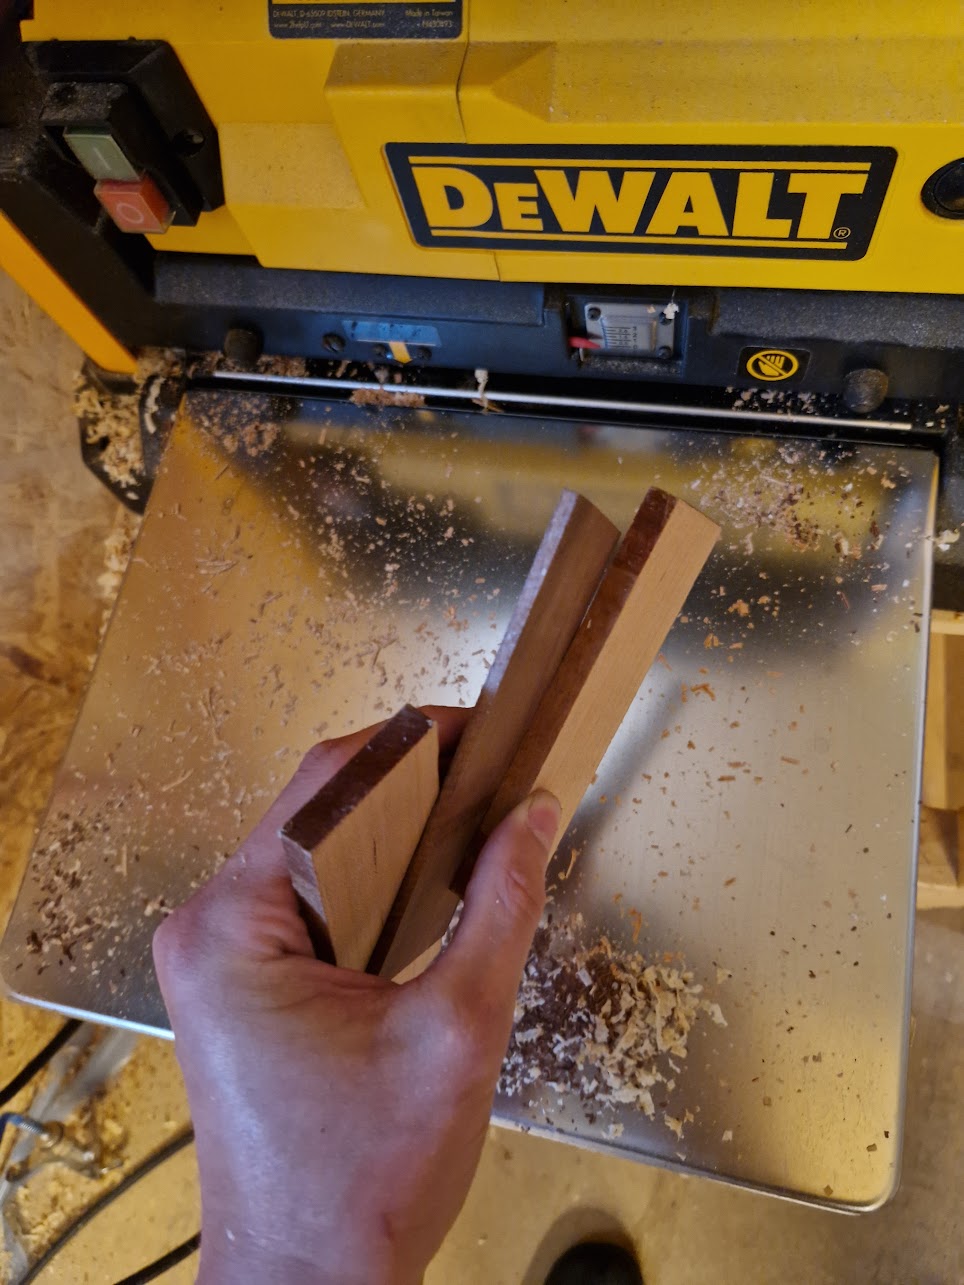
Here are all the three pieces planed.
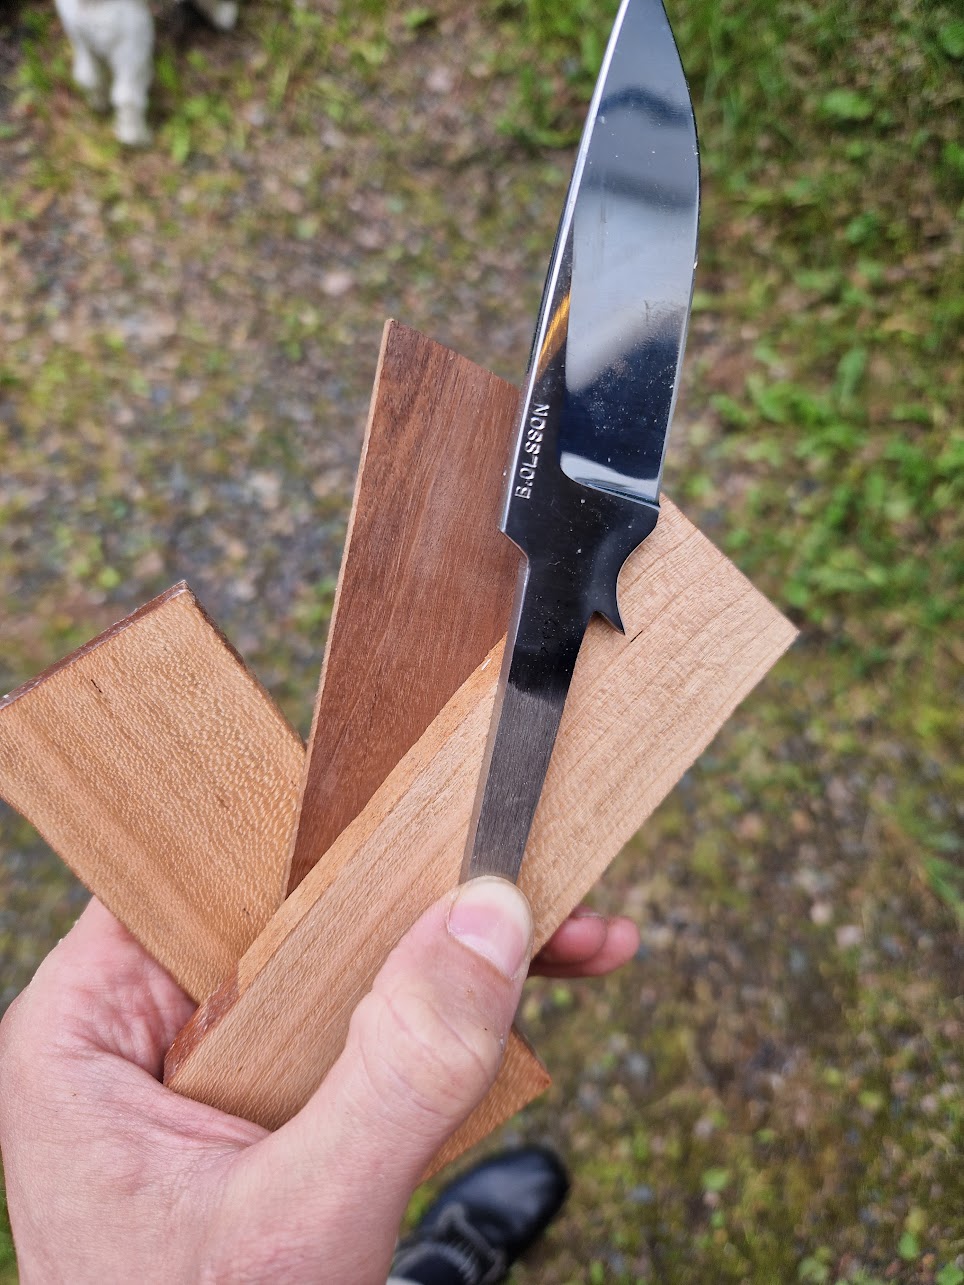
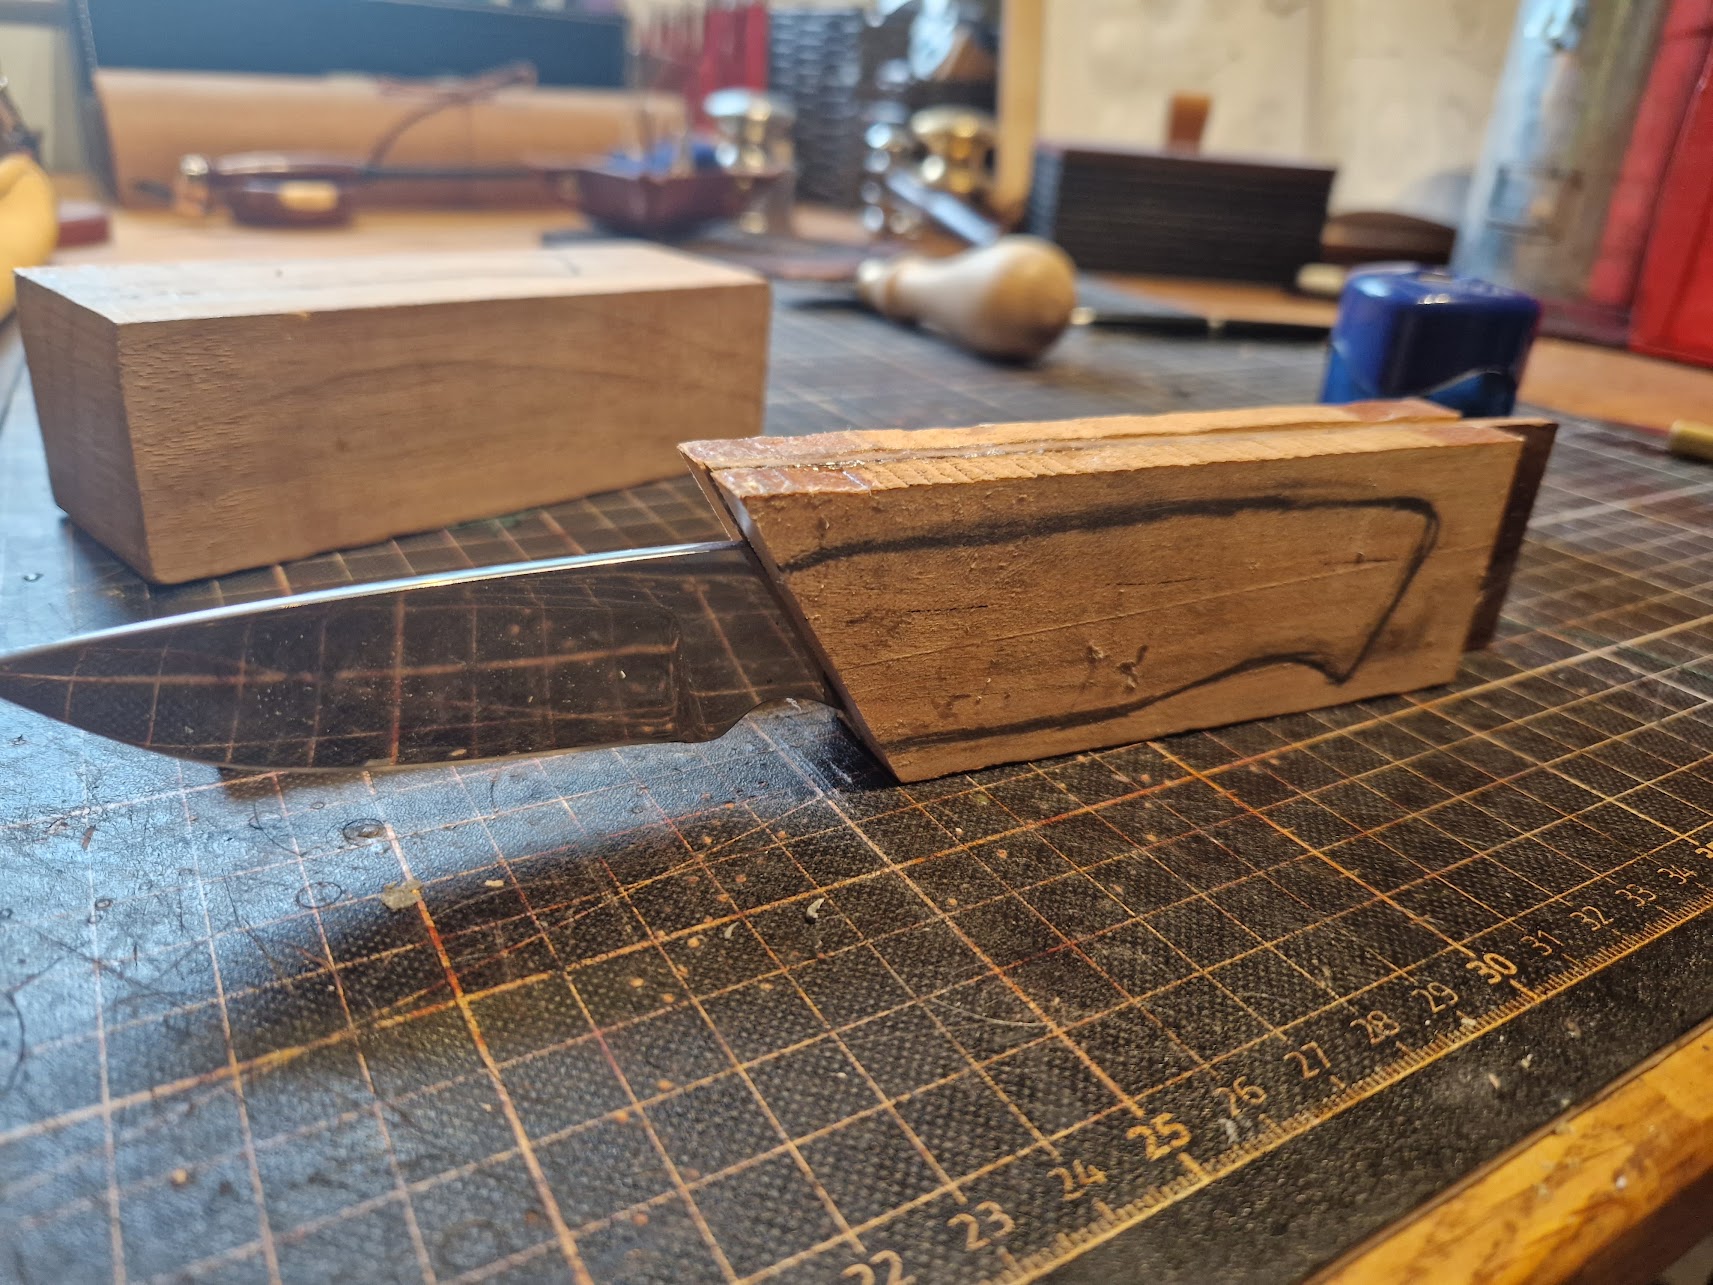
I cut the pieces with a 45 degrees angle to match the blade. Then I marked out the knife tang on the middle piece.

Then I rough sawed to the mark and filed the last bit to make it fit.
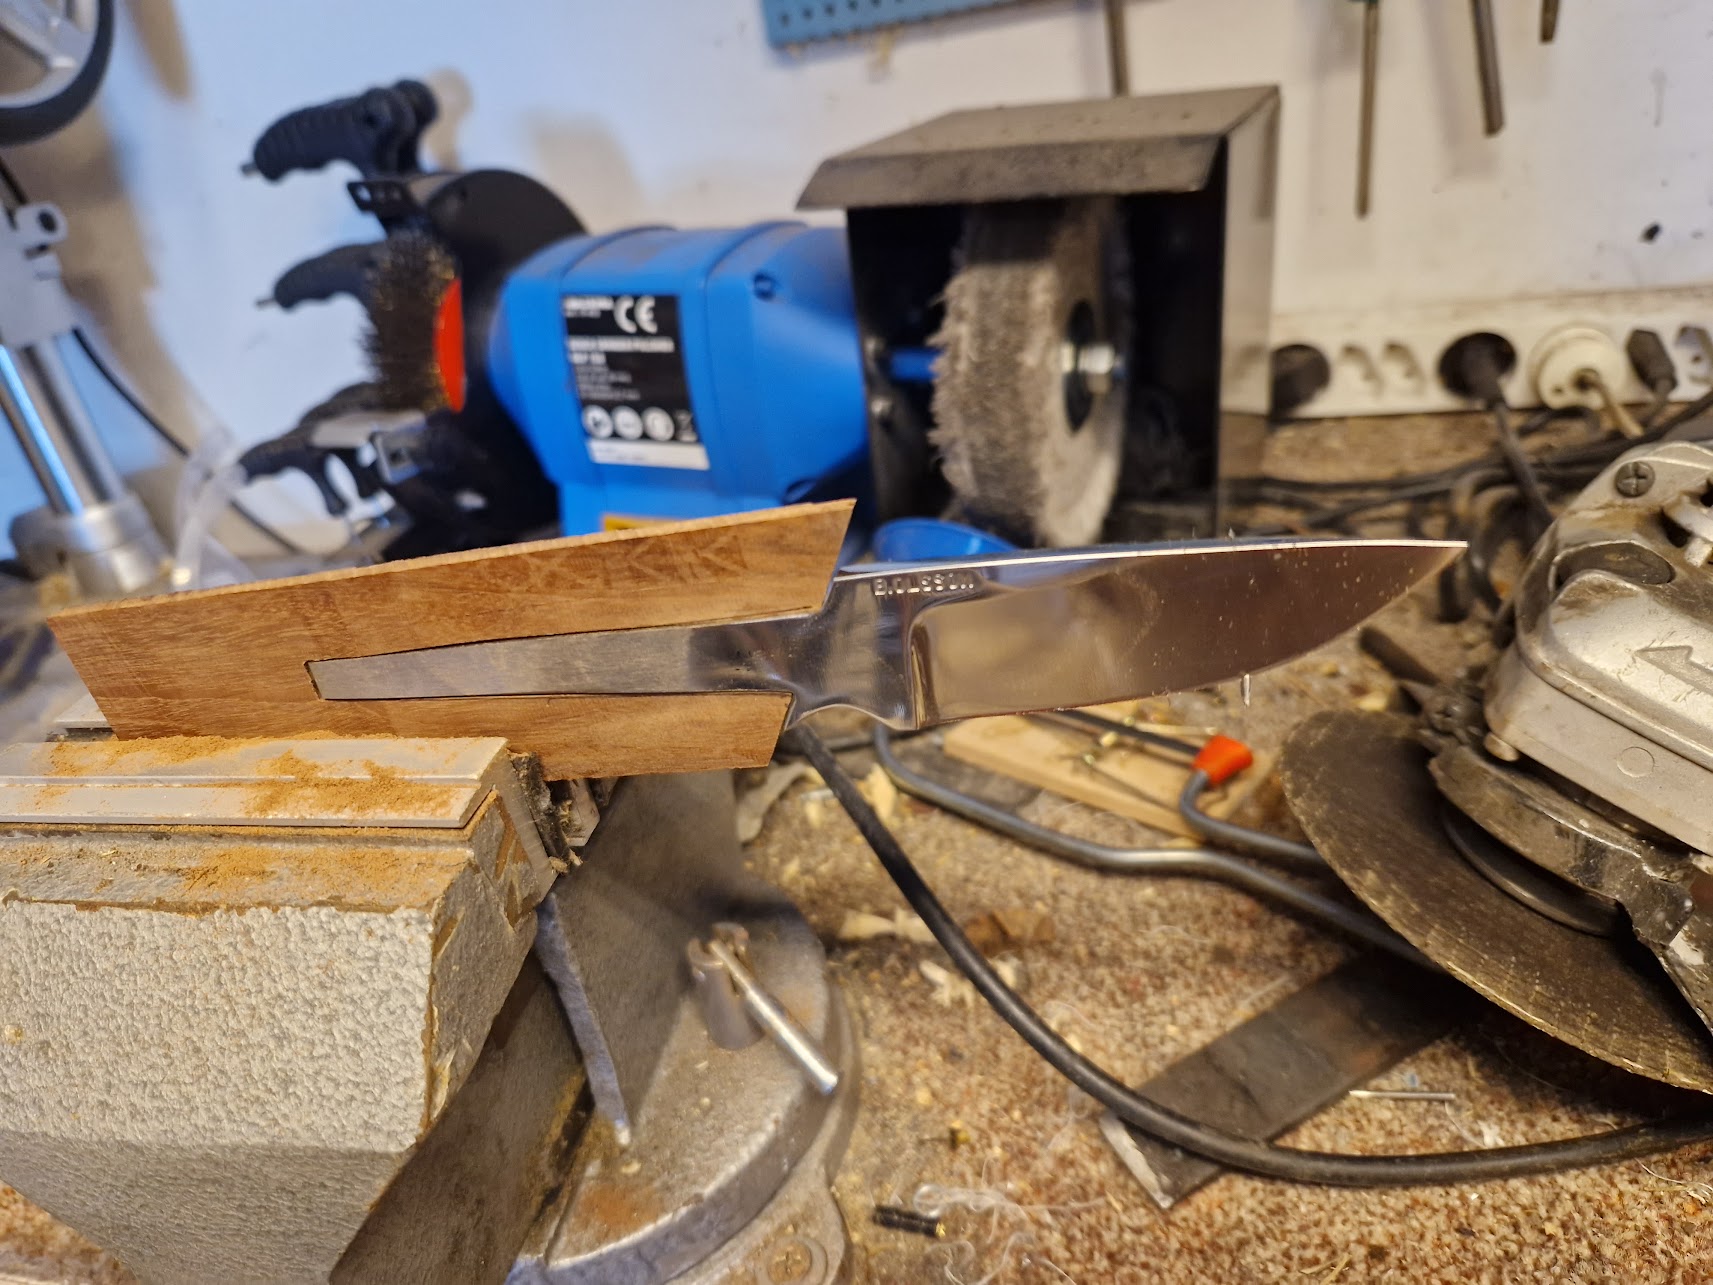
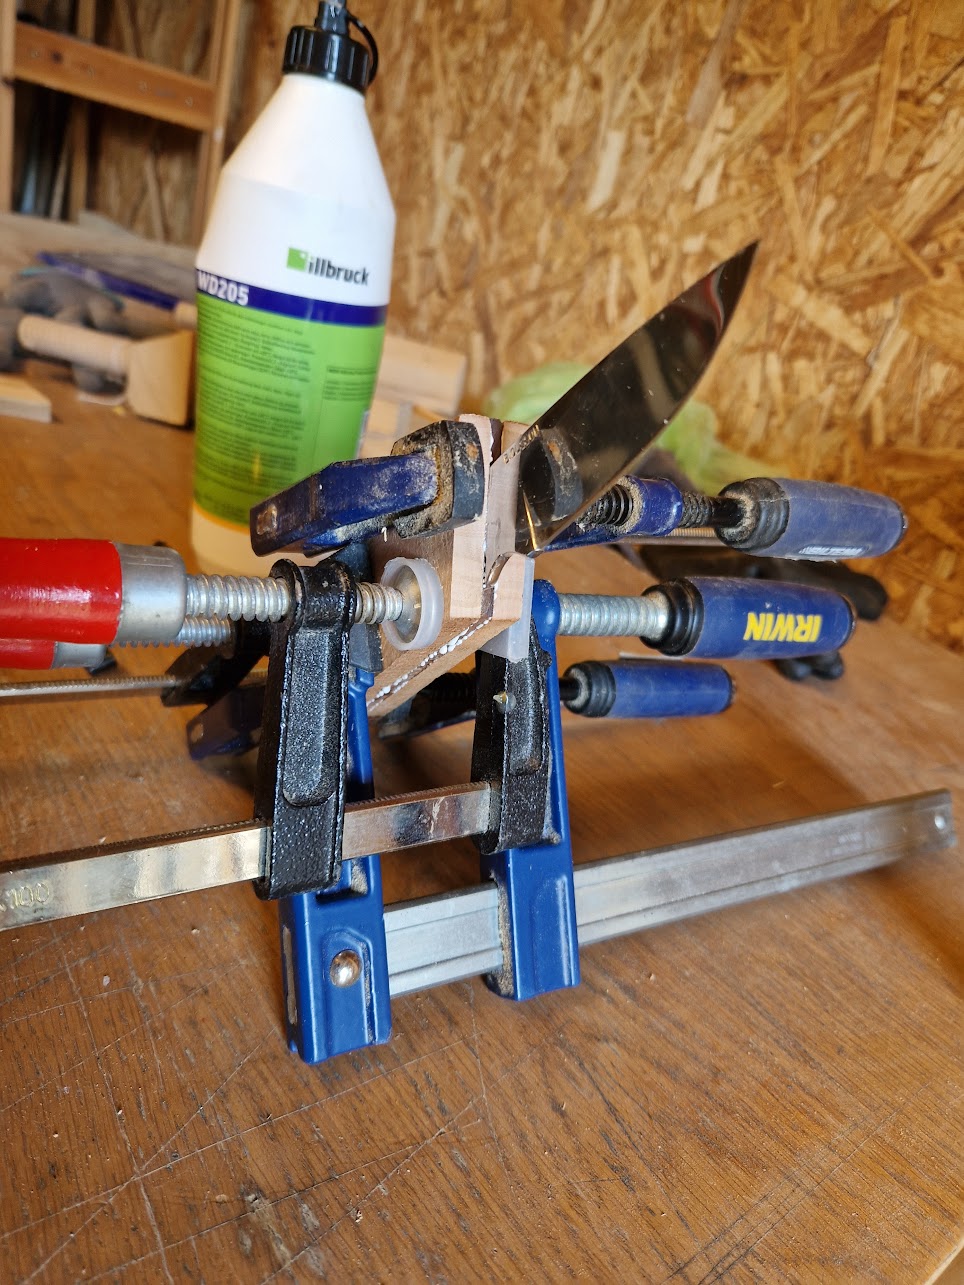
Now it's time to glue everything together. I kept the blade on to make sure it would fit even after the glue dried.
Next step is to draw the handle.
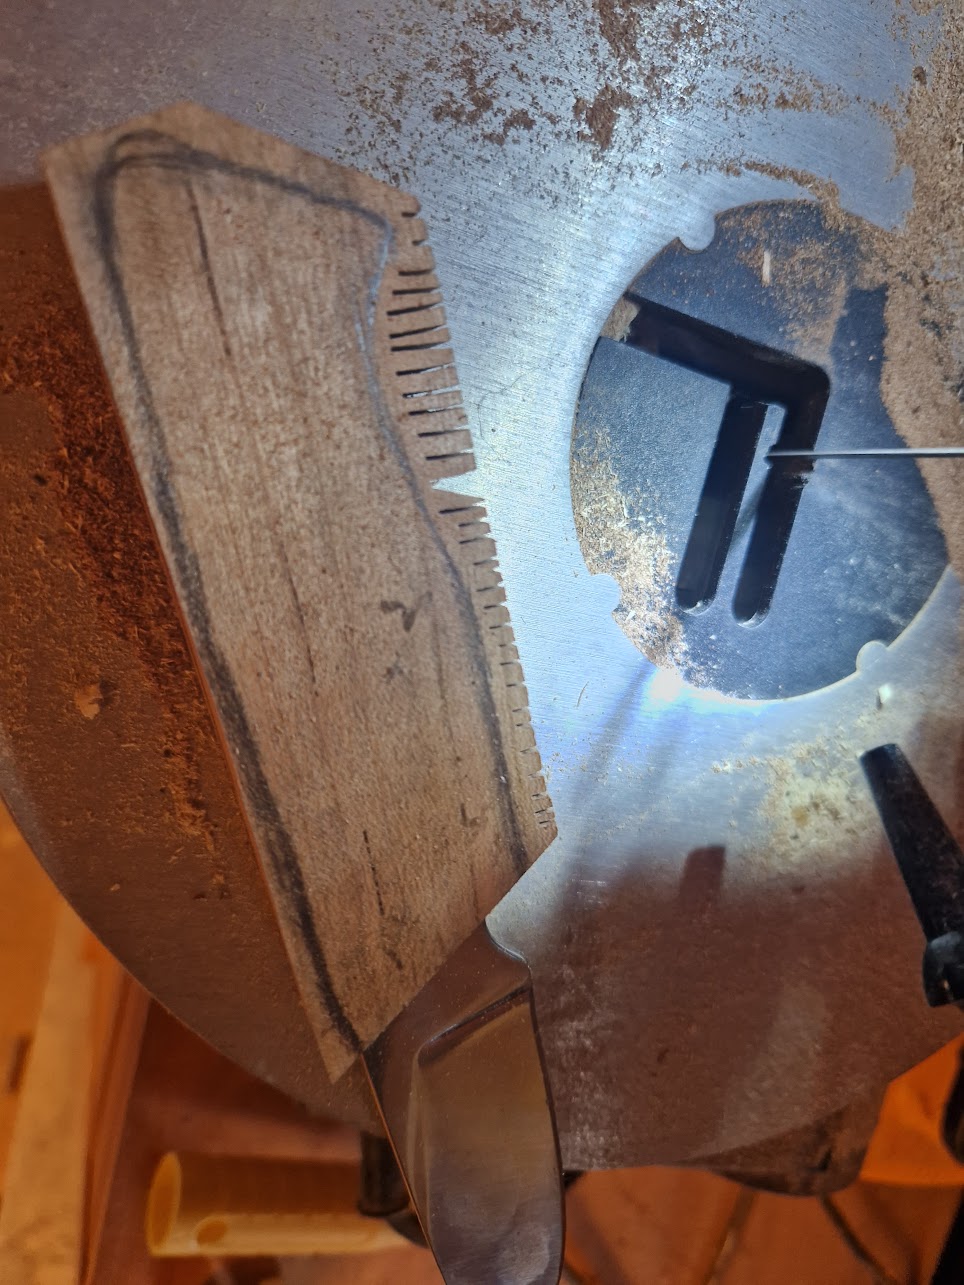
Rough sewed around the markings. Then it is mostly about filing and sanding. A belt grinder would be awesome.
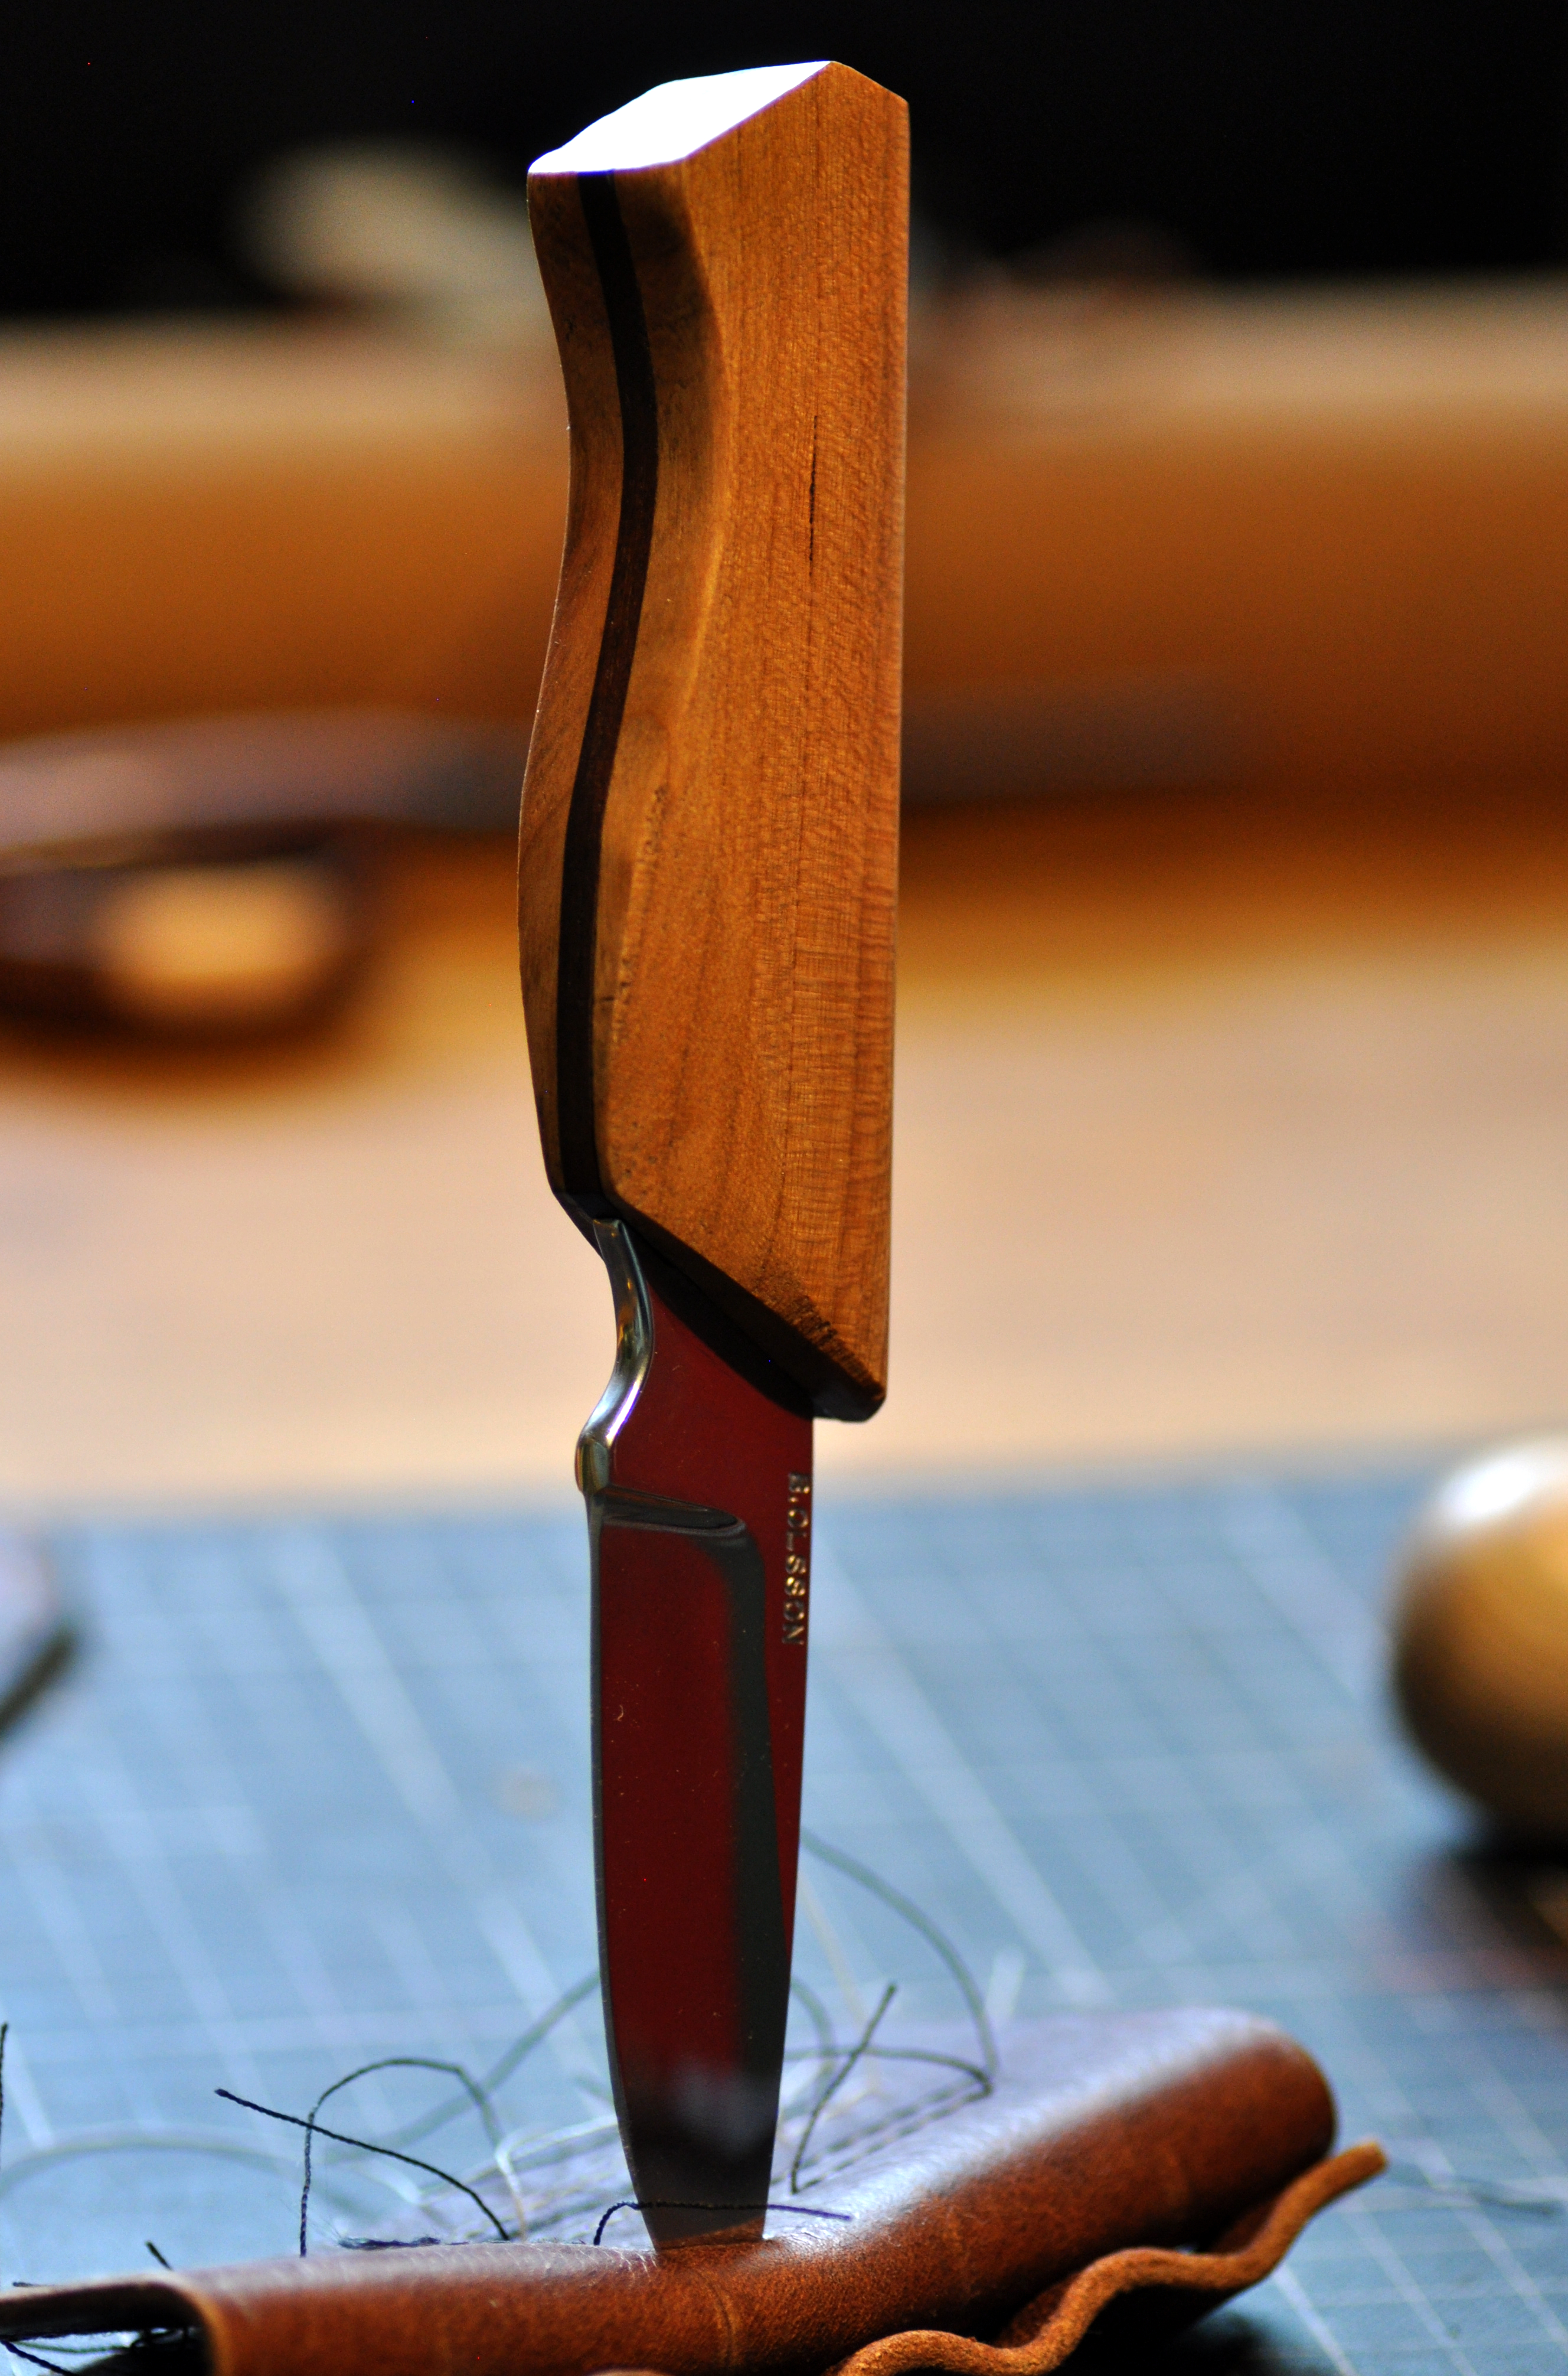
The result
After sanding, oiling and polishing, the handle is finally ready. I also removed the blade and filled it with epoxy before I put it back in.
I am quite happy with the result, it fits well in the hand and has a good grip. I liked the three layer handle, both how smooth the process was to make it but also how it looks. This is definitely how I will make knives in the future.
One thing I take with me to the next time is make the outer pieces thinner so I don't have to grind and file so much.